Views
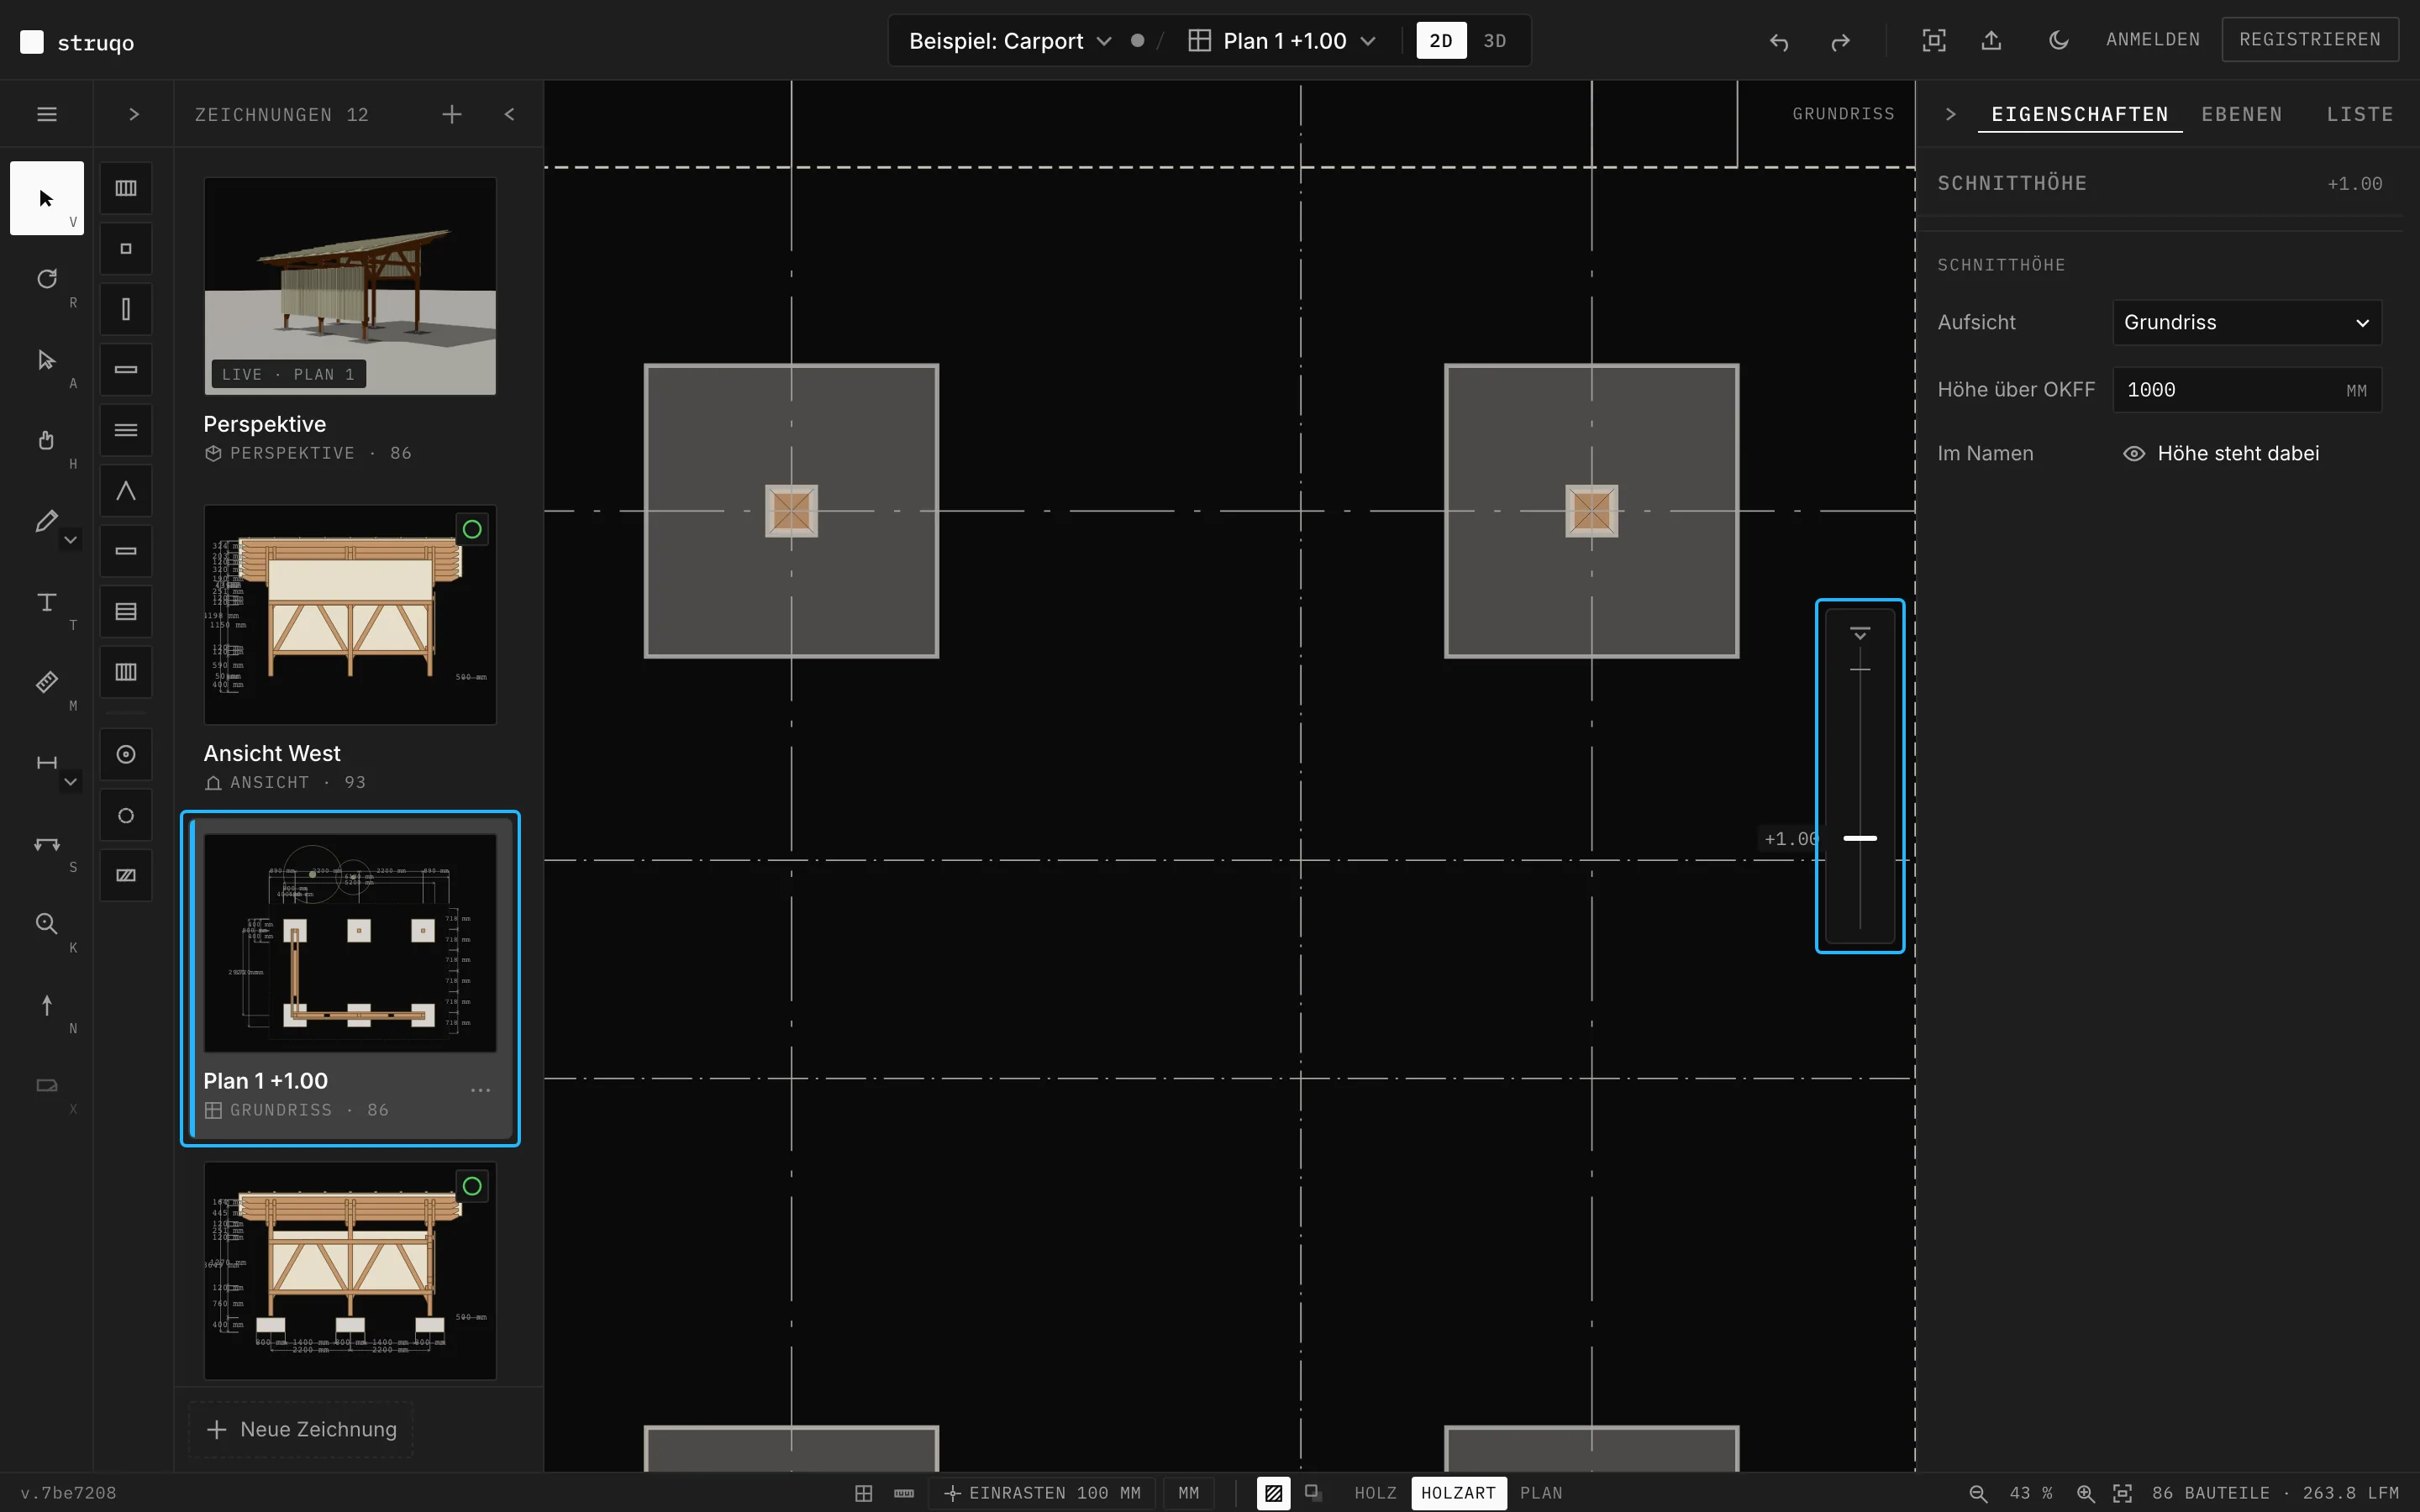
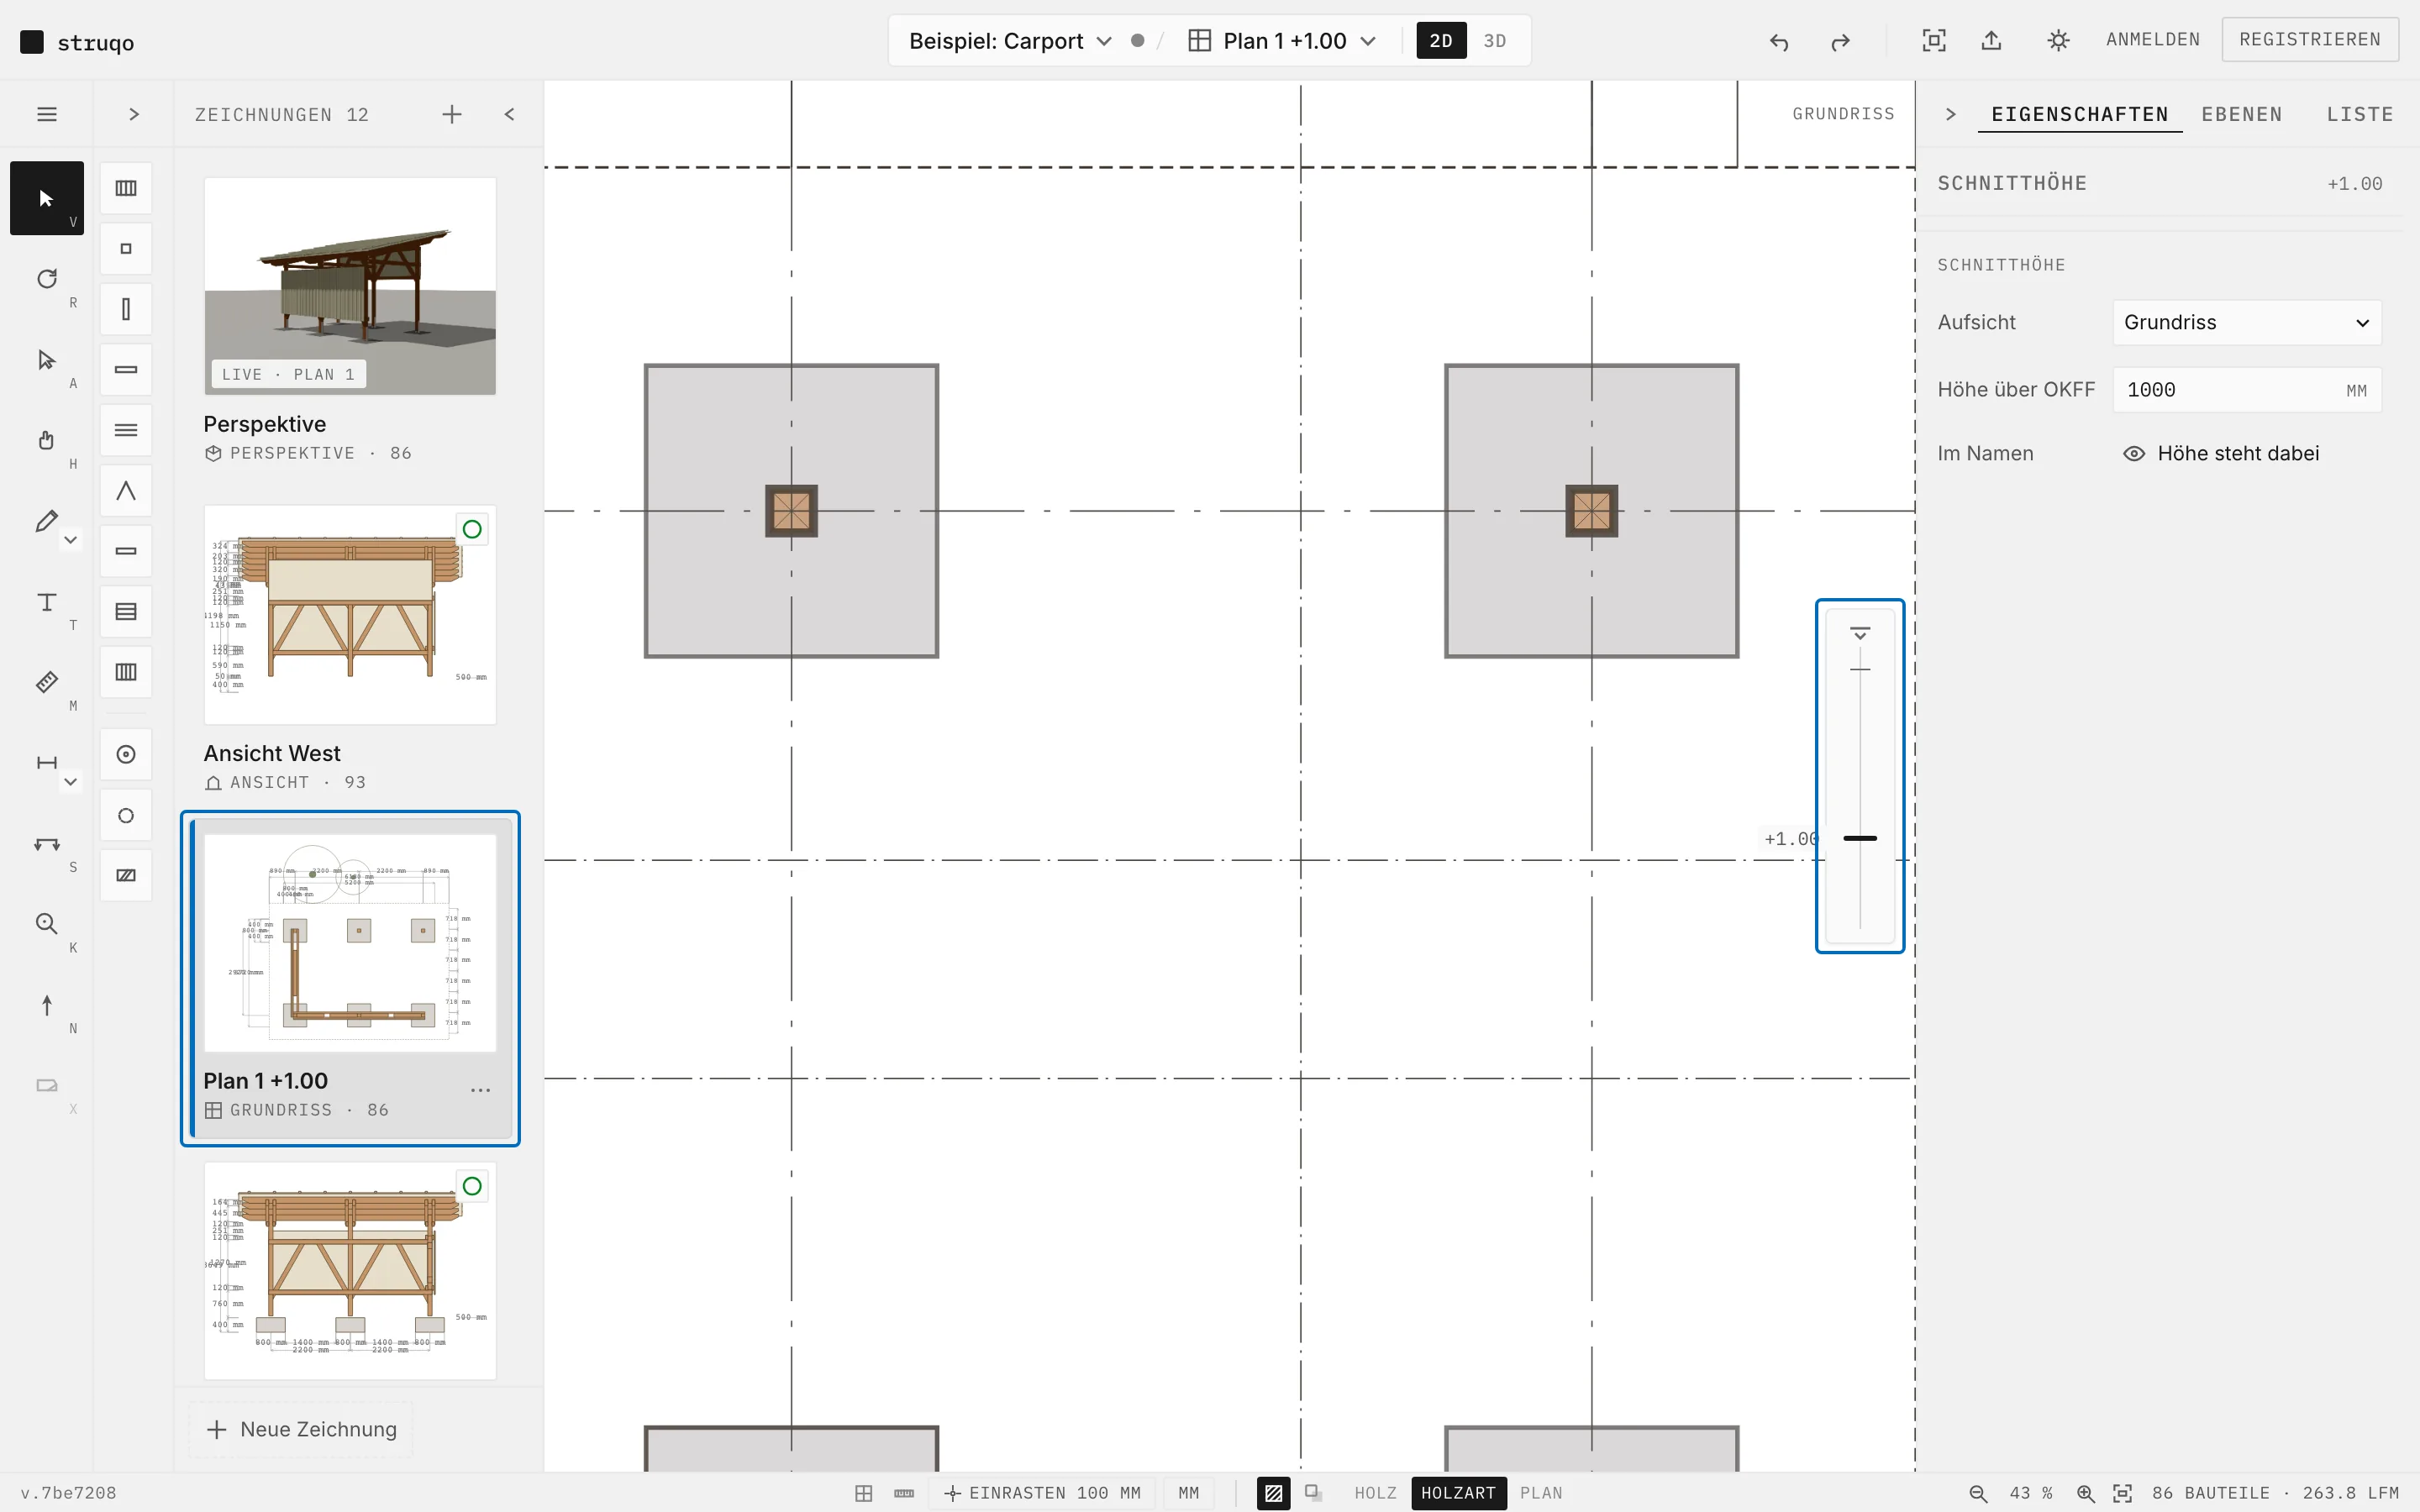
One model gives you every view you need for your build: floor plan, perspective, sections, elevations and details. The example carport carries twelve of them. They all sit in the bar on the left, and the one in the picture is marked.
The floor plan.
The floor plan cuts the model horizontally, at the cut height you set with the slider or in the panel. It is the view you draw in. The others draw themselves.
How the floor plan comes out of the model is shown on the 3D model page.
More
- You add new views at the bottom of the bar with “New drawing”: plan, elevation, perspective, section or detail.
- The cut height can appear in the name, for instance “Plan 1 +1.00”.
The perspective.
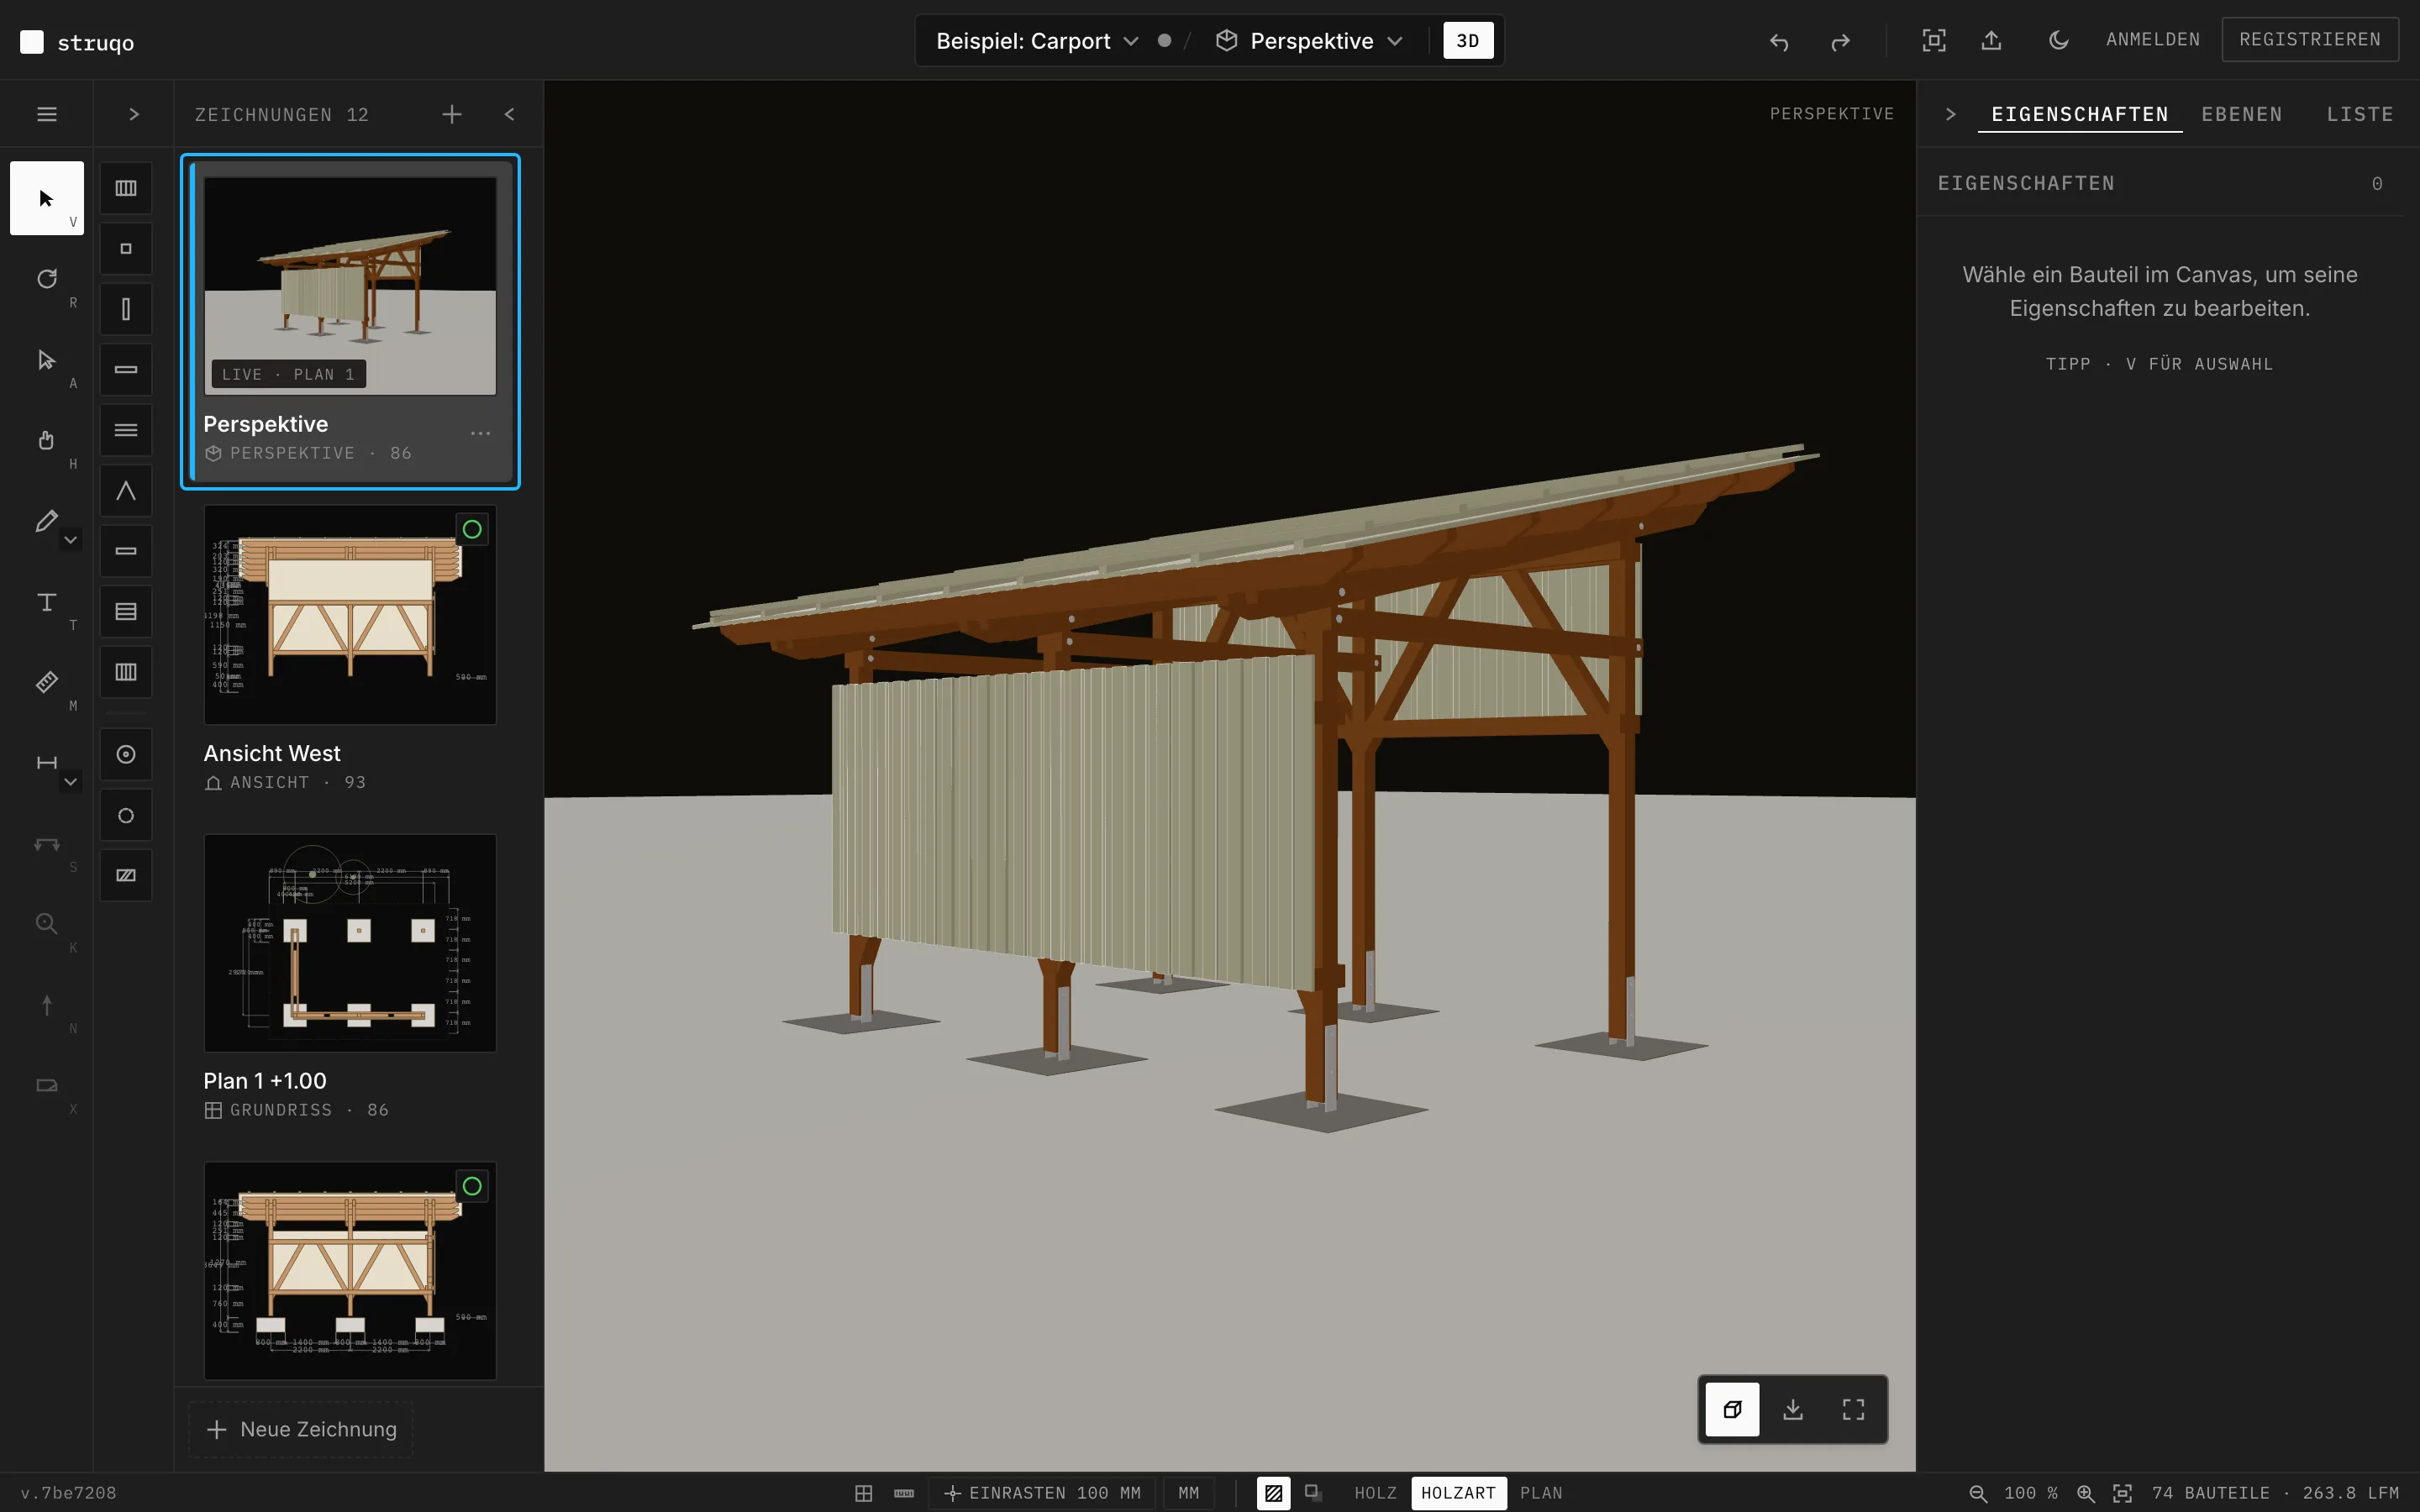
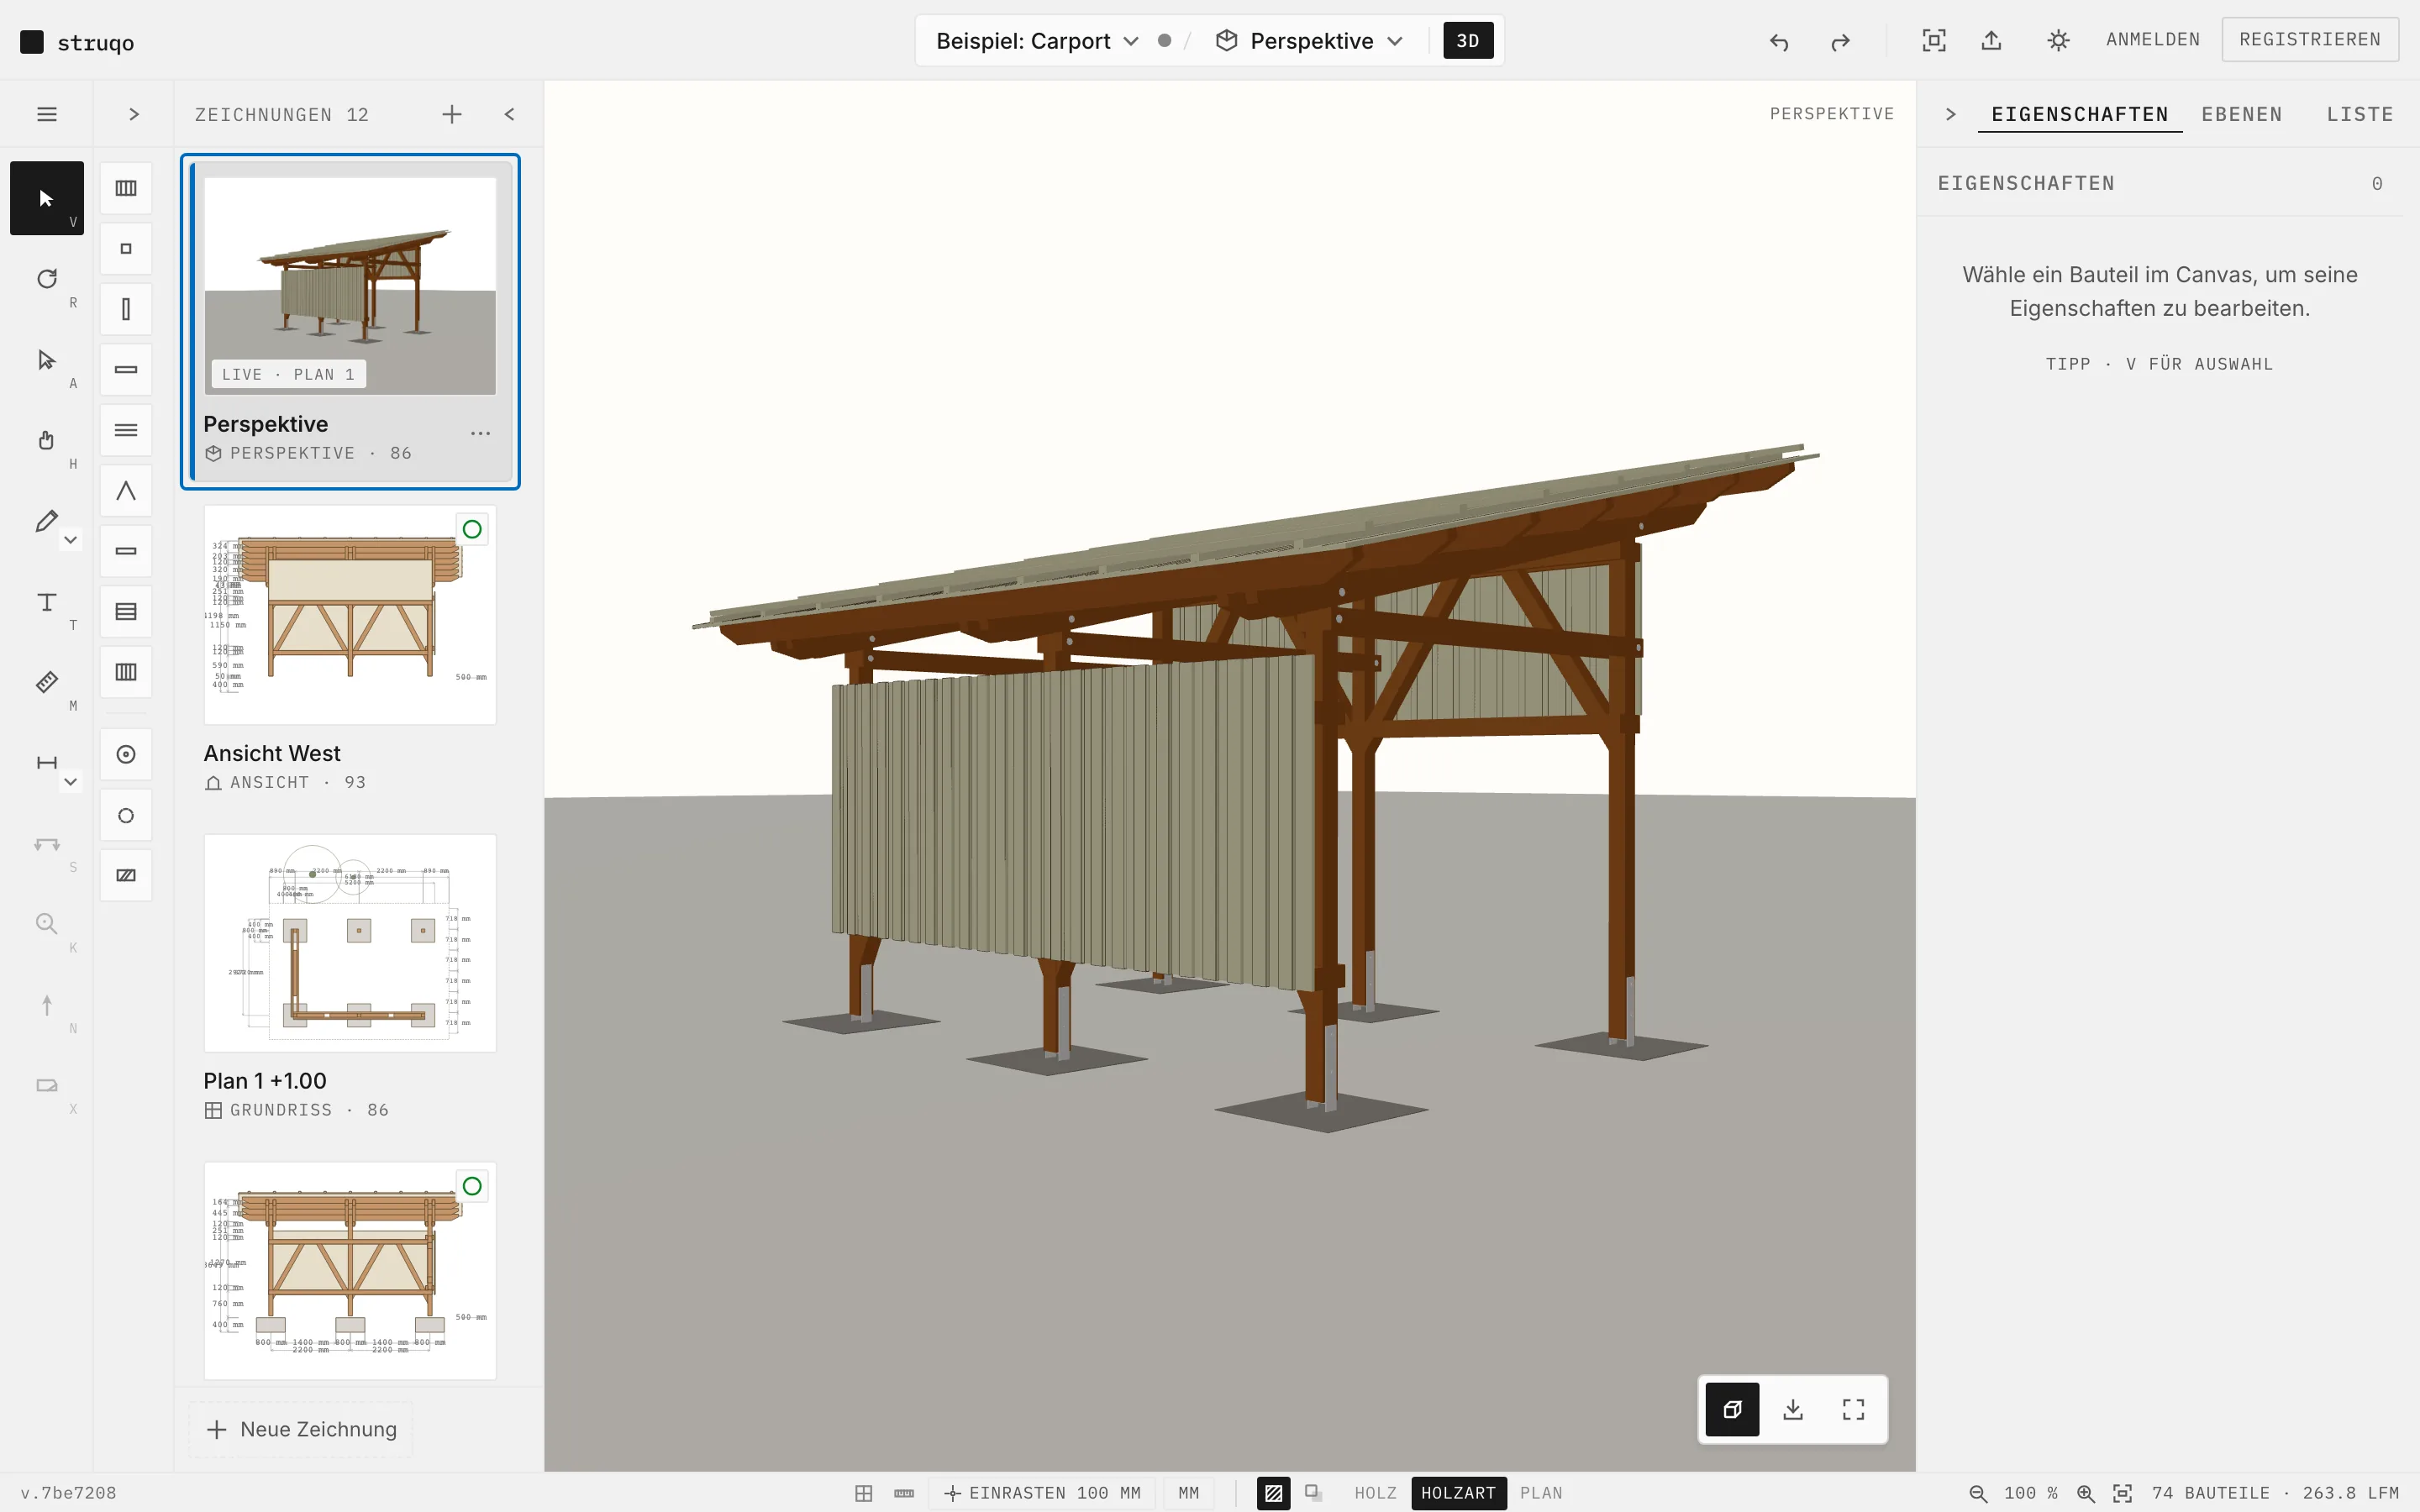
The perspective shows the model in space. You turn it with the mouse and zoom with the wheel. Its card in the bar says “Live” and names the plan it comes from.
More
- Shadows switch on and off.
- You print the perspective like any other view.
Sections.
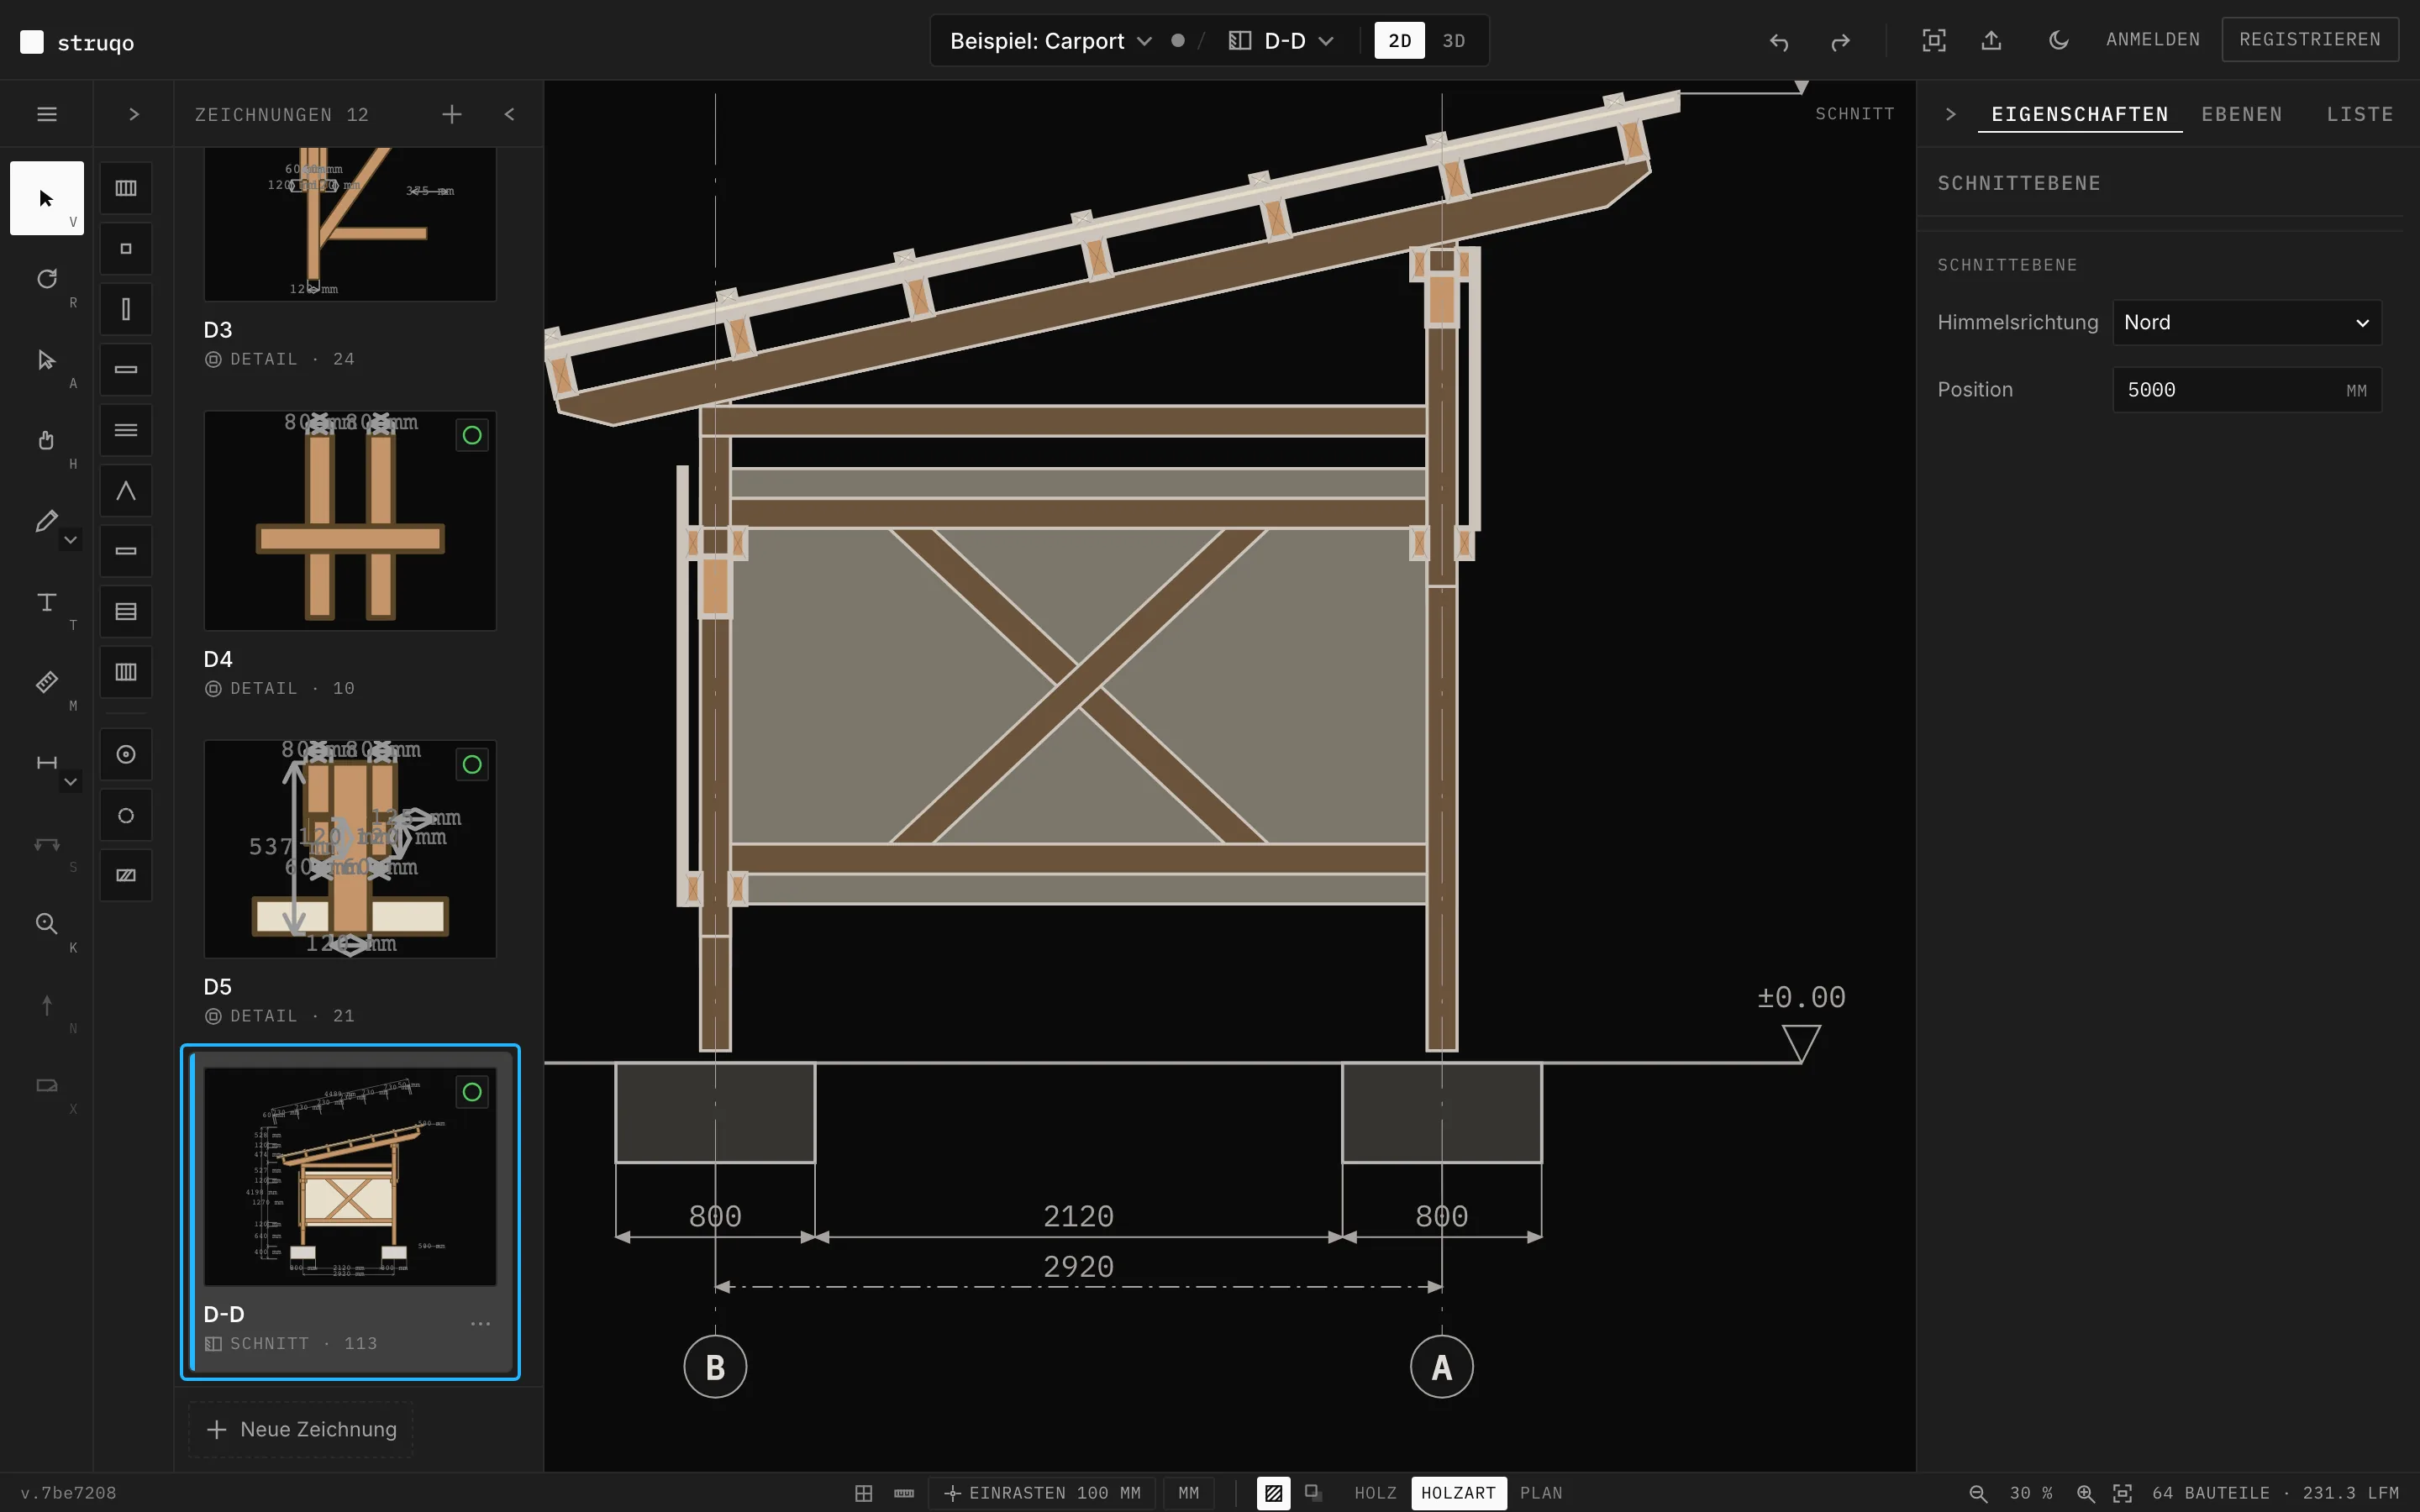
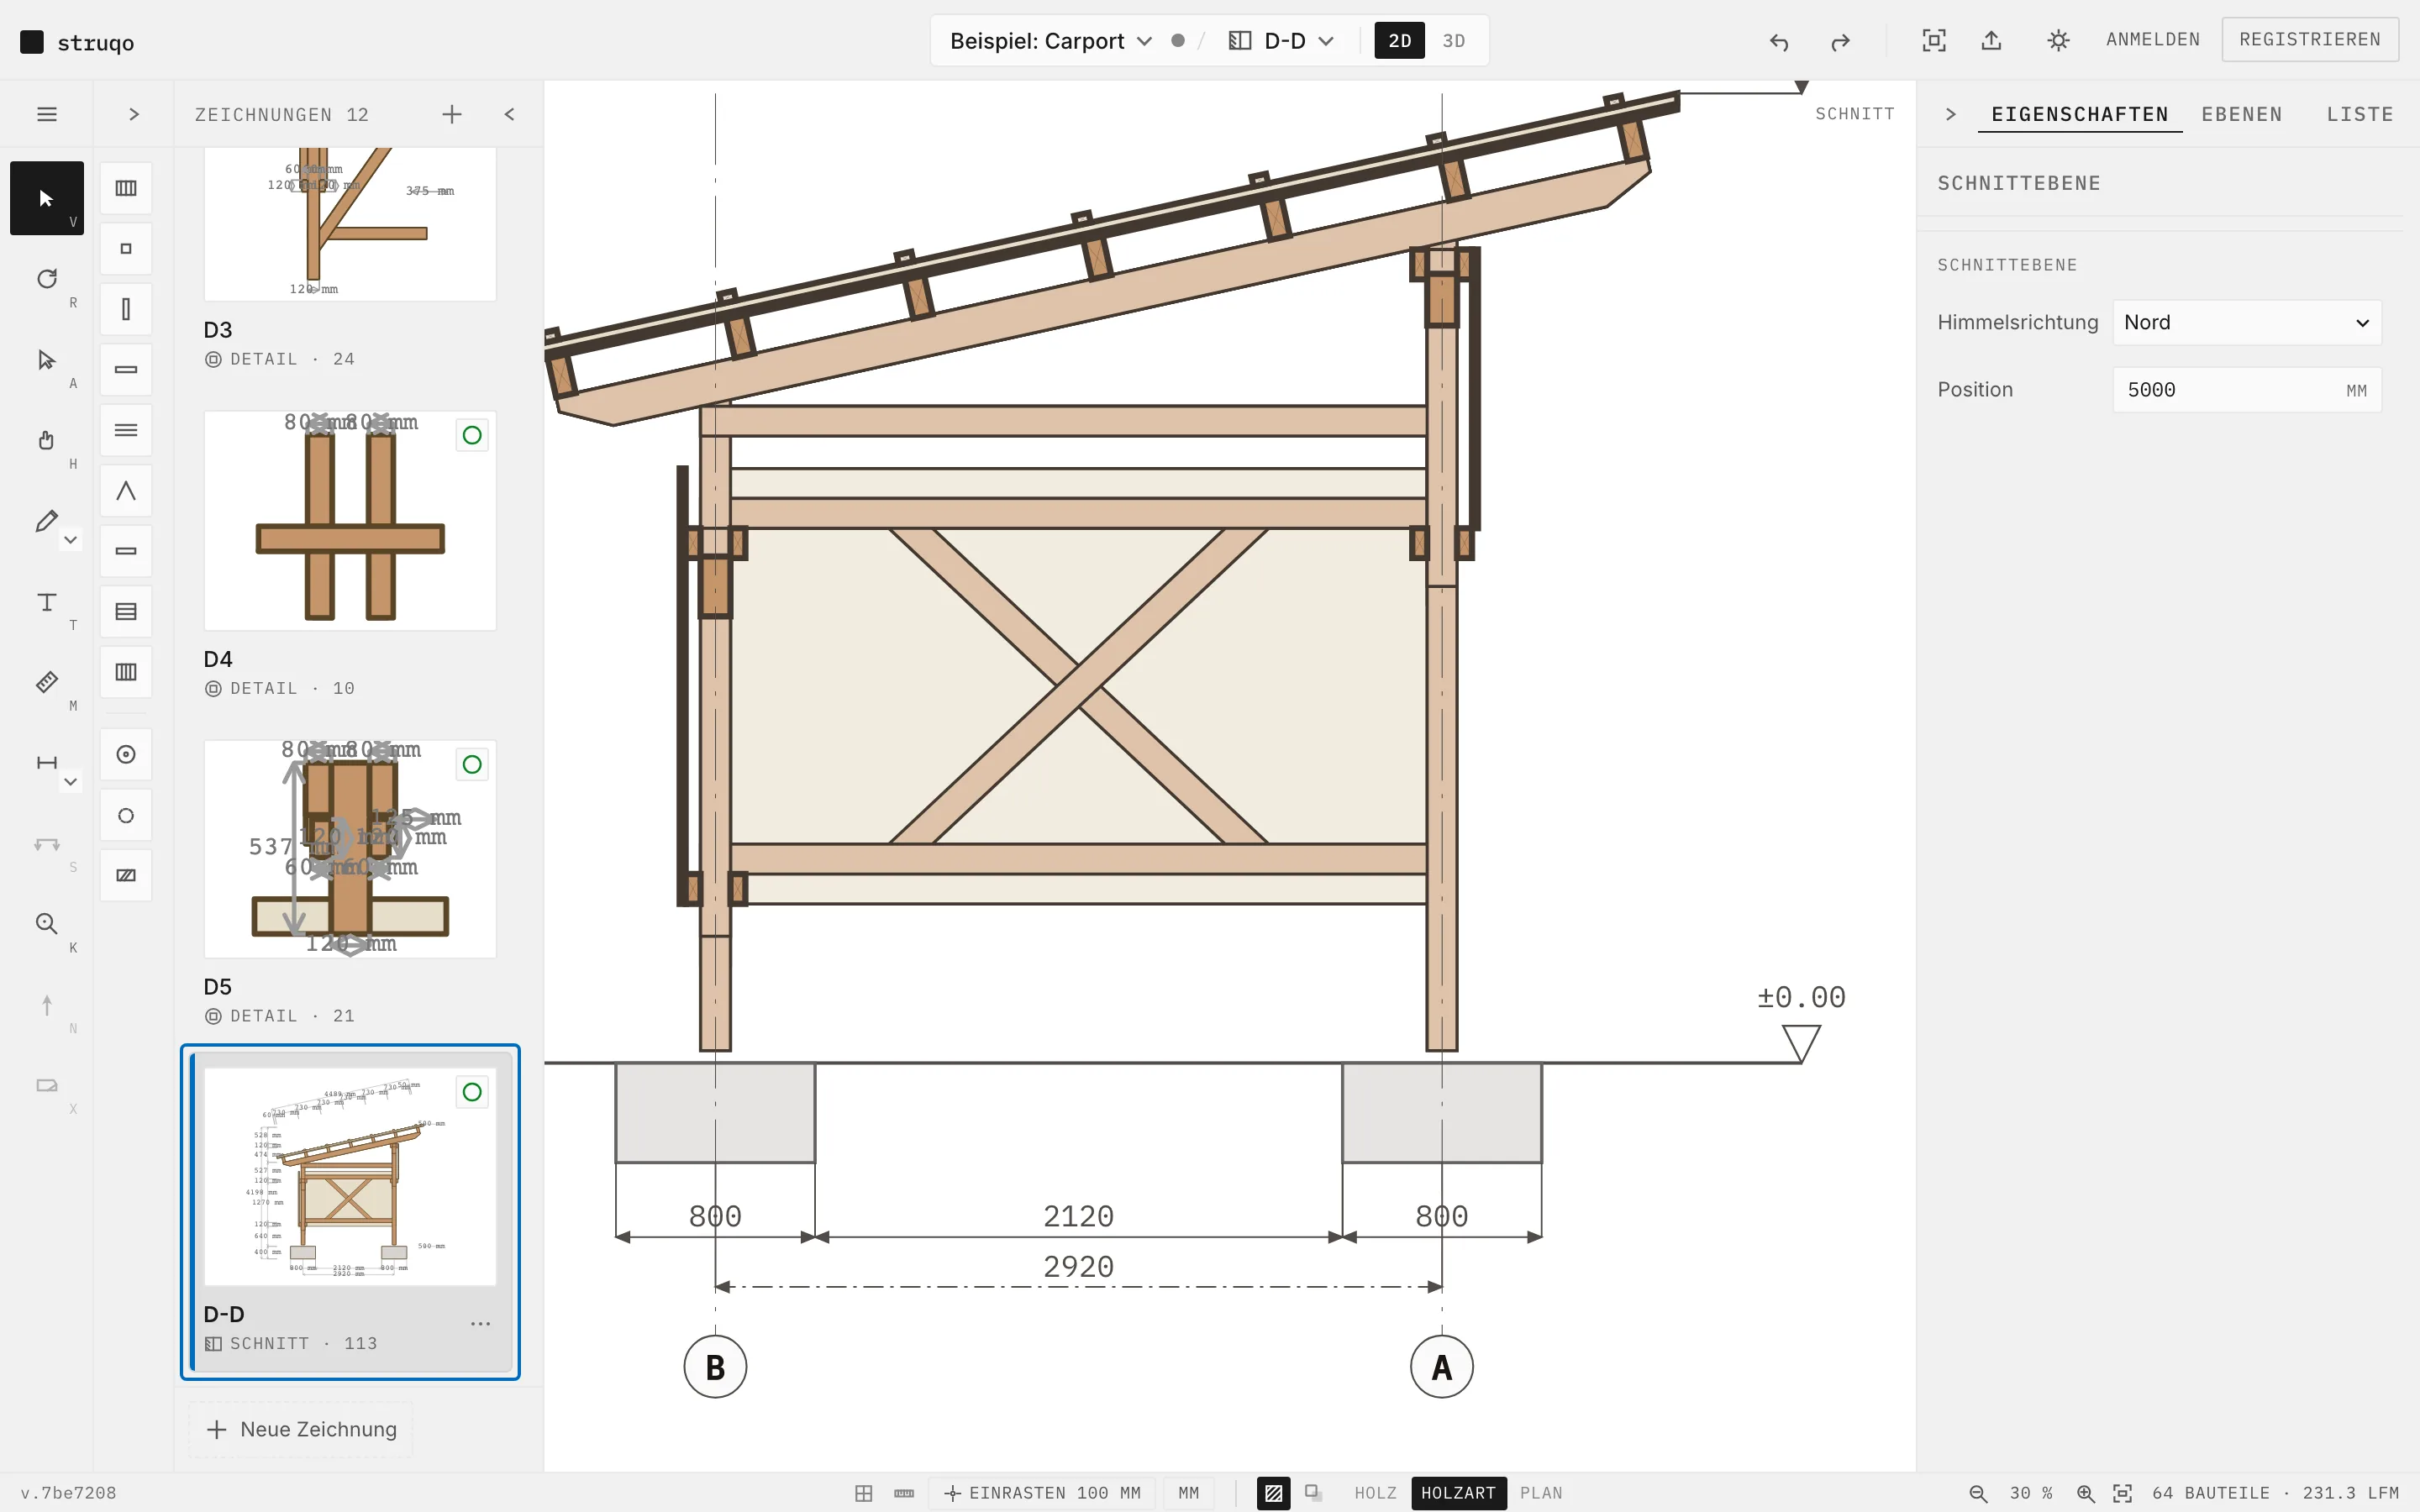
You draw a section with the section line in the floor plan, and Struqo creates the view for it. Section D-D shows the carport from the side, with braces, foundations, axis dimensions and the ±0.00 level.
More
- You set direction and position of the section in the panel, the position in millimetres.
- Struqo draws what is cut with a wide line and what lies behind with a narrow one, following DIN EN ISO 128-20.
- When the model changes, the section follows the next time you open it.
Elevations.
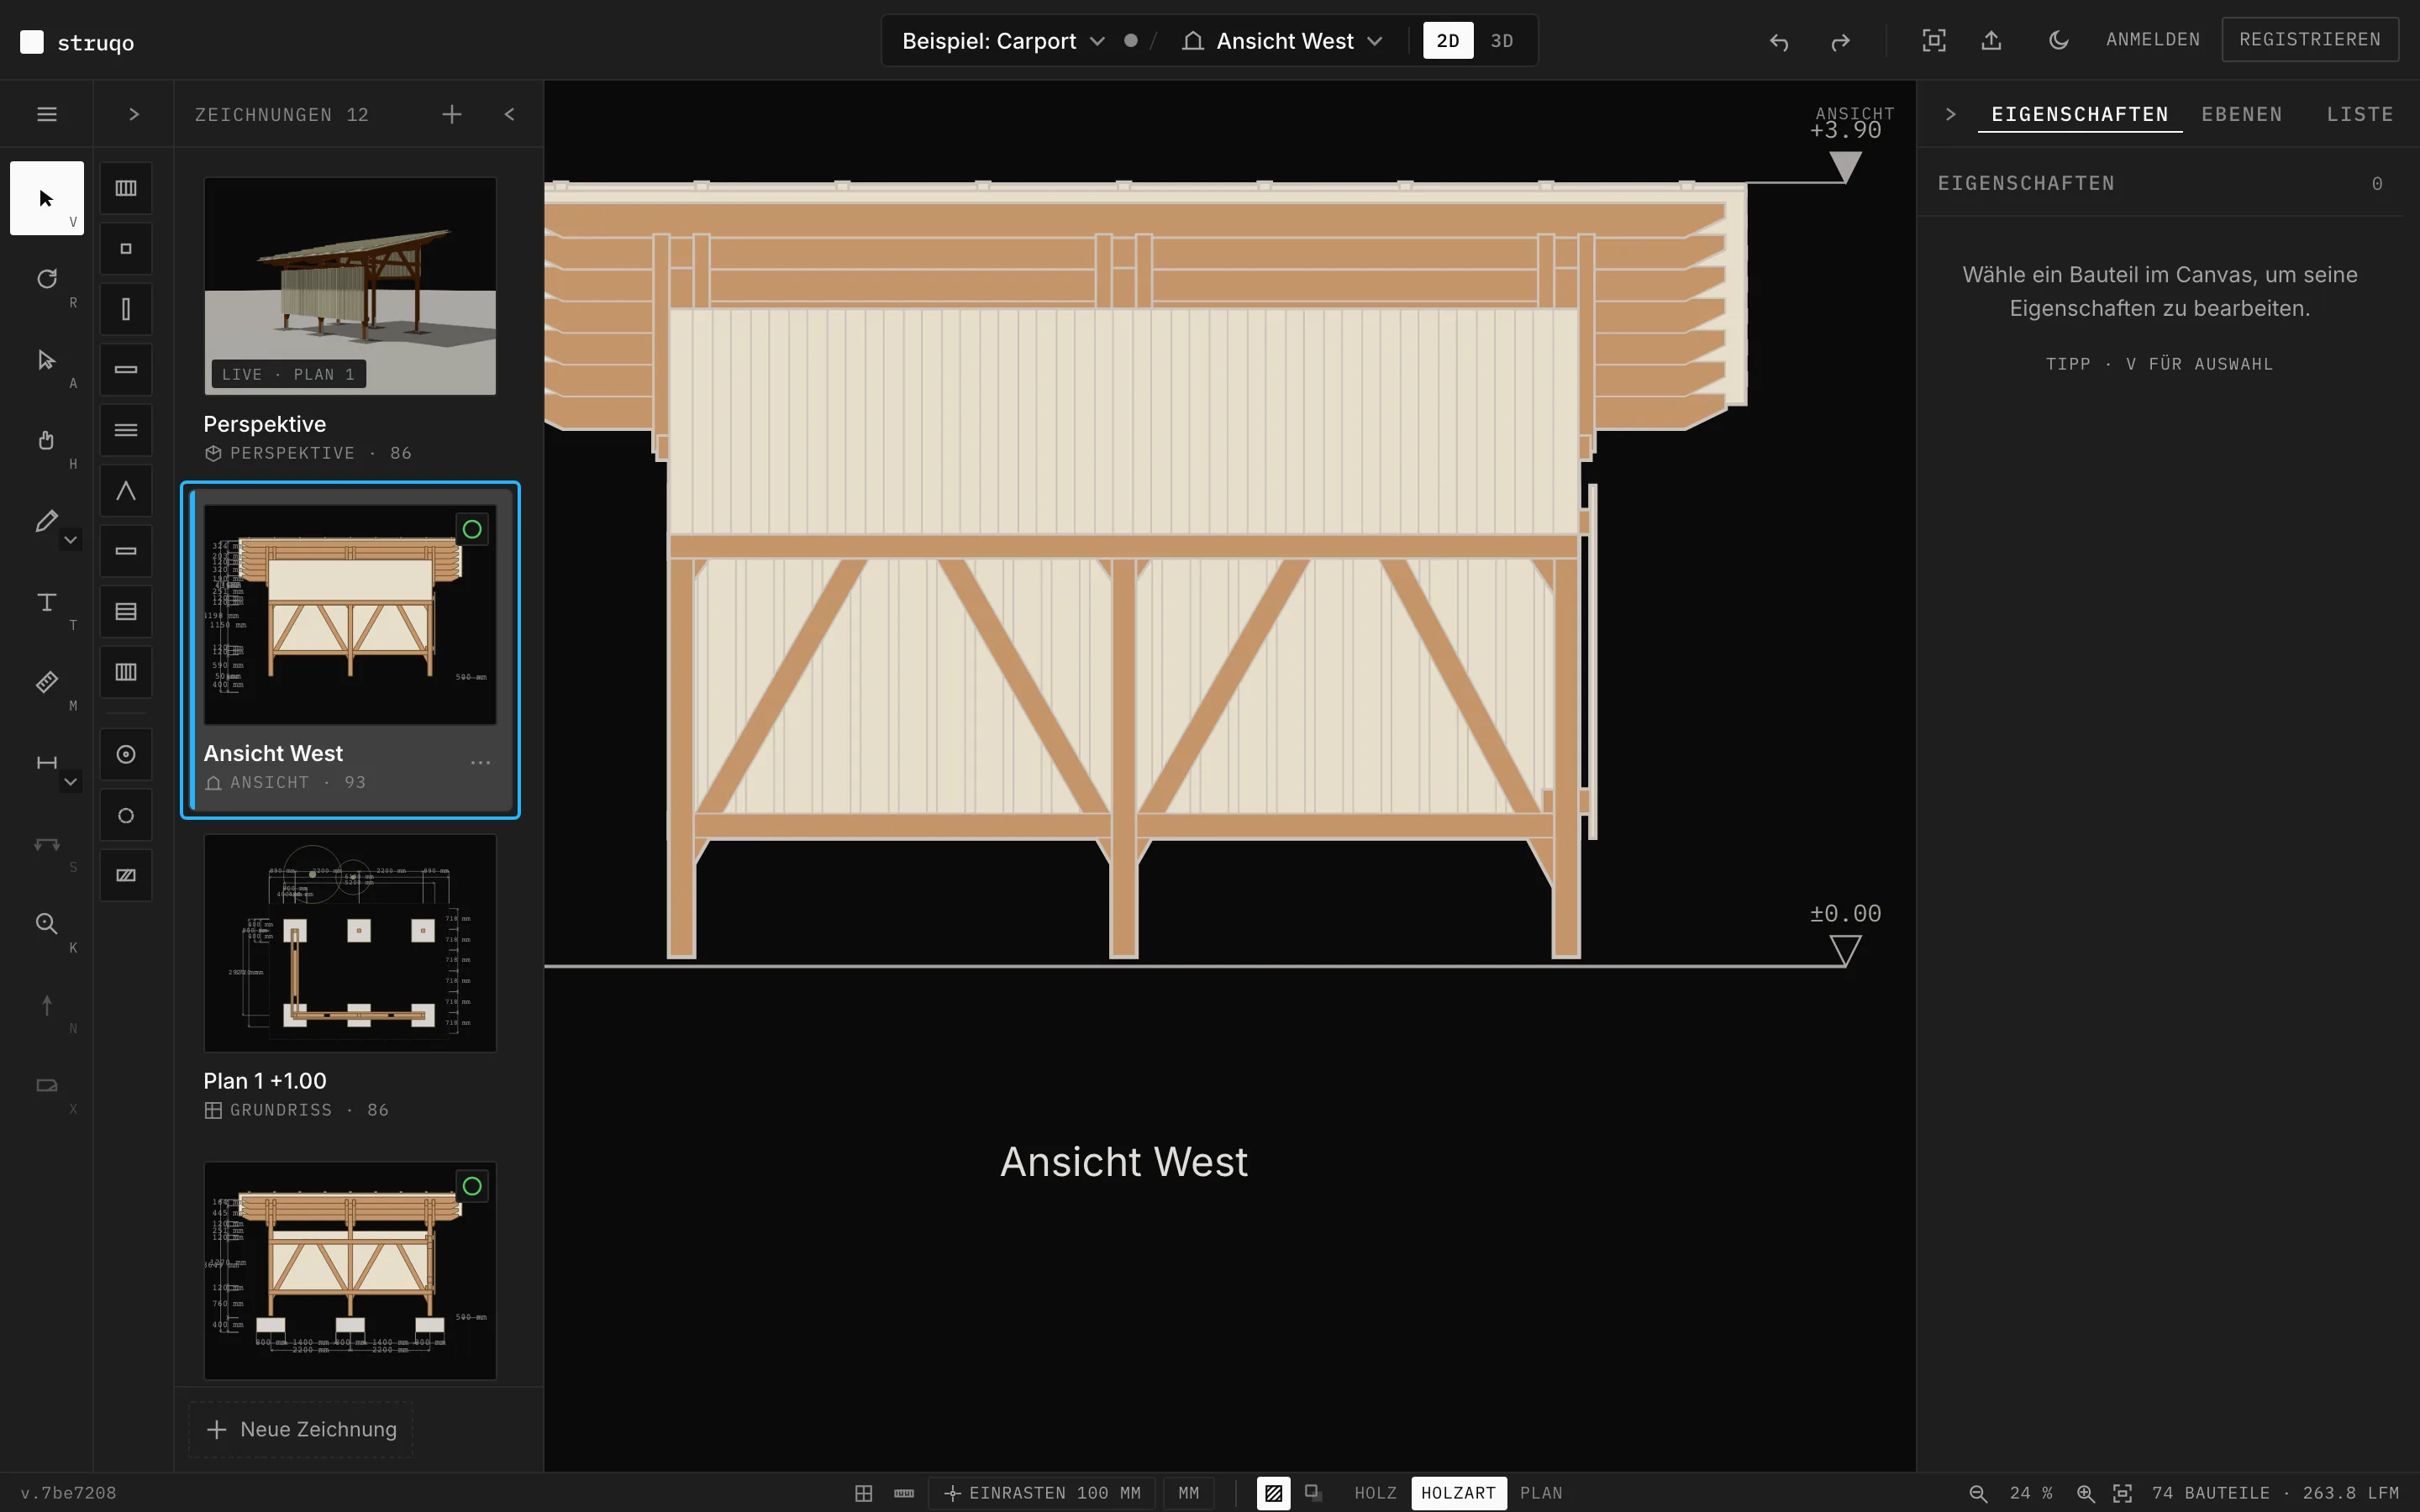
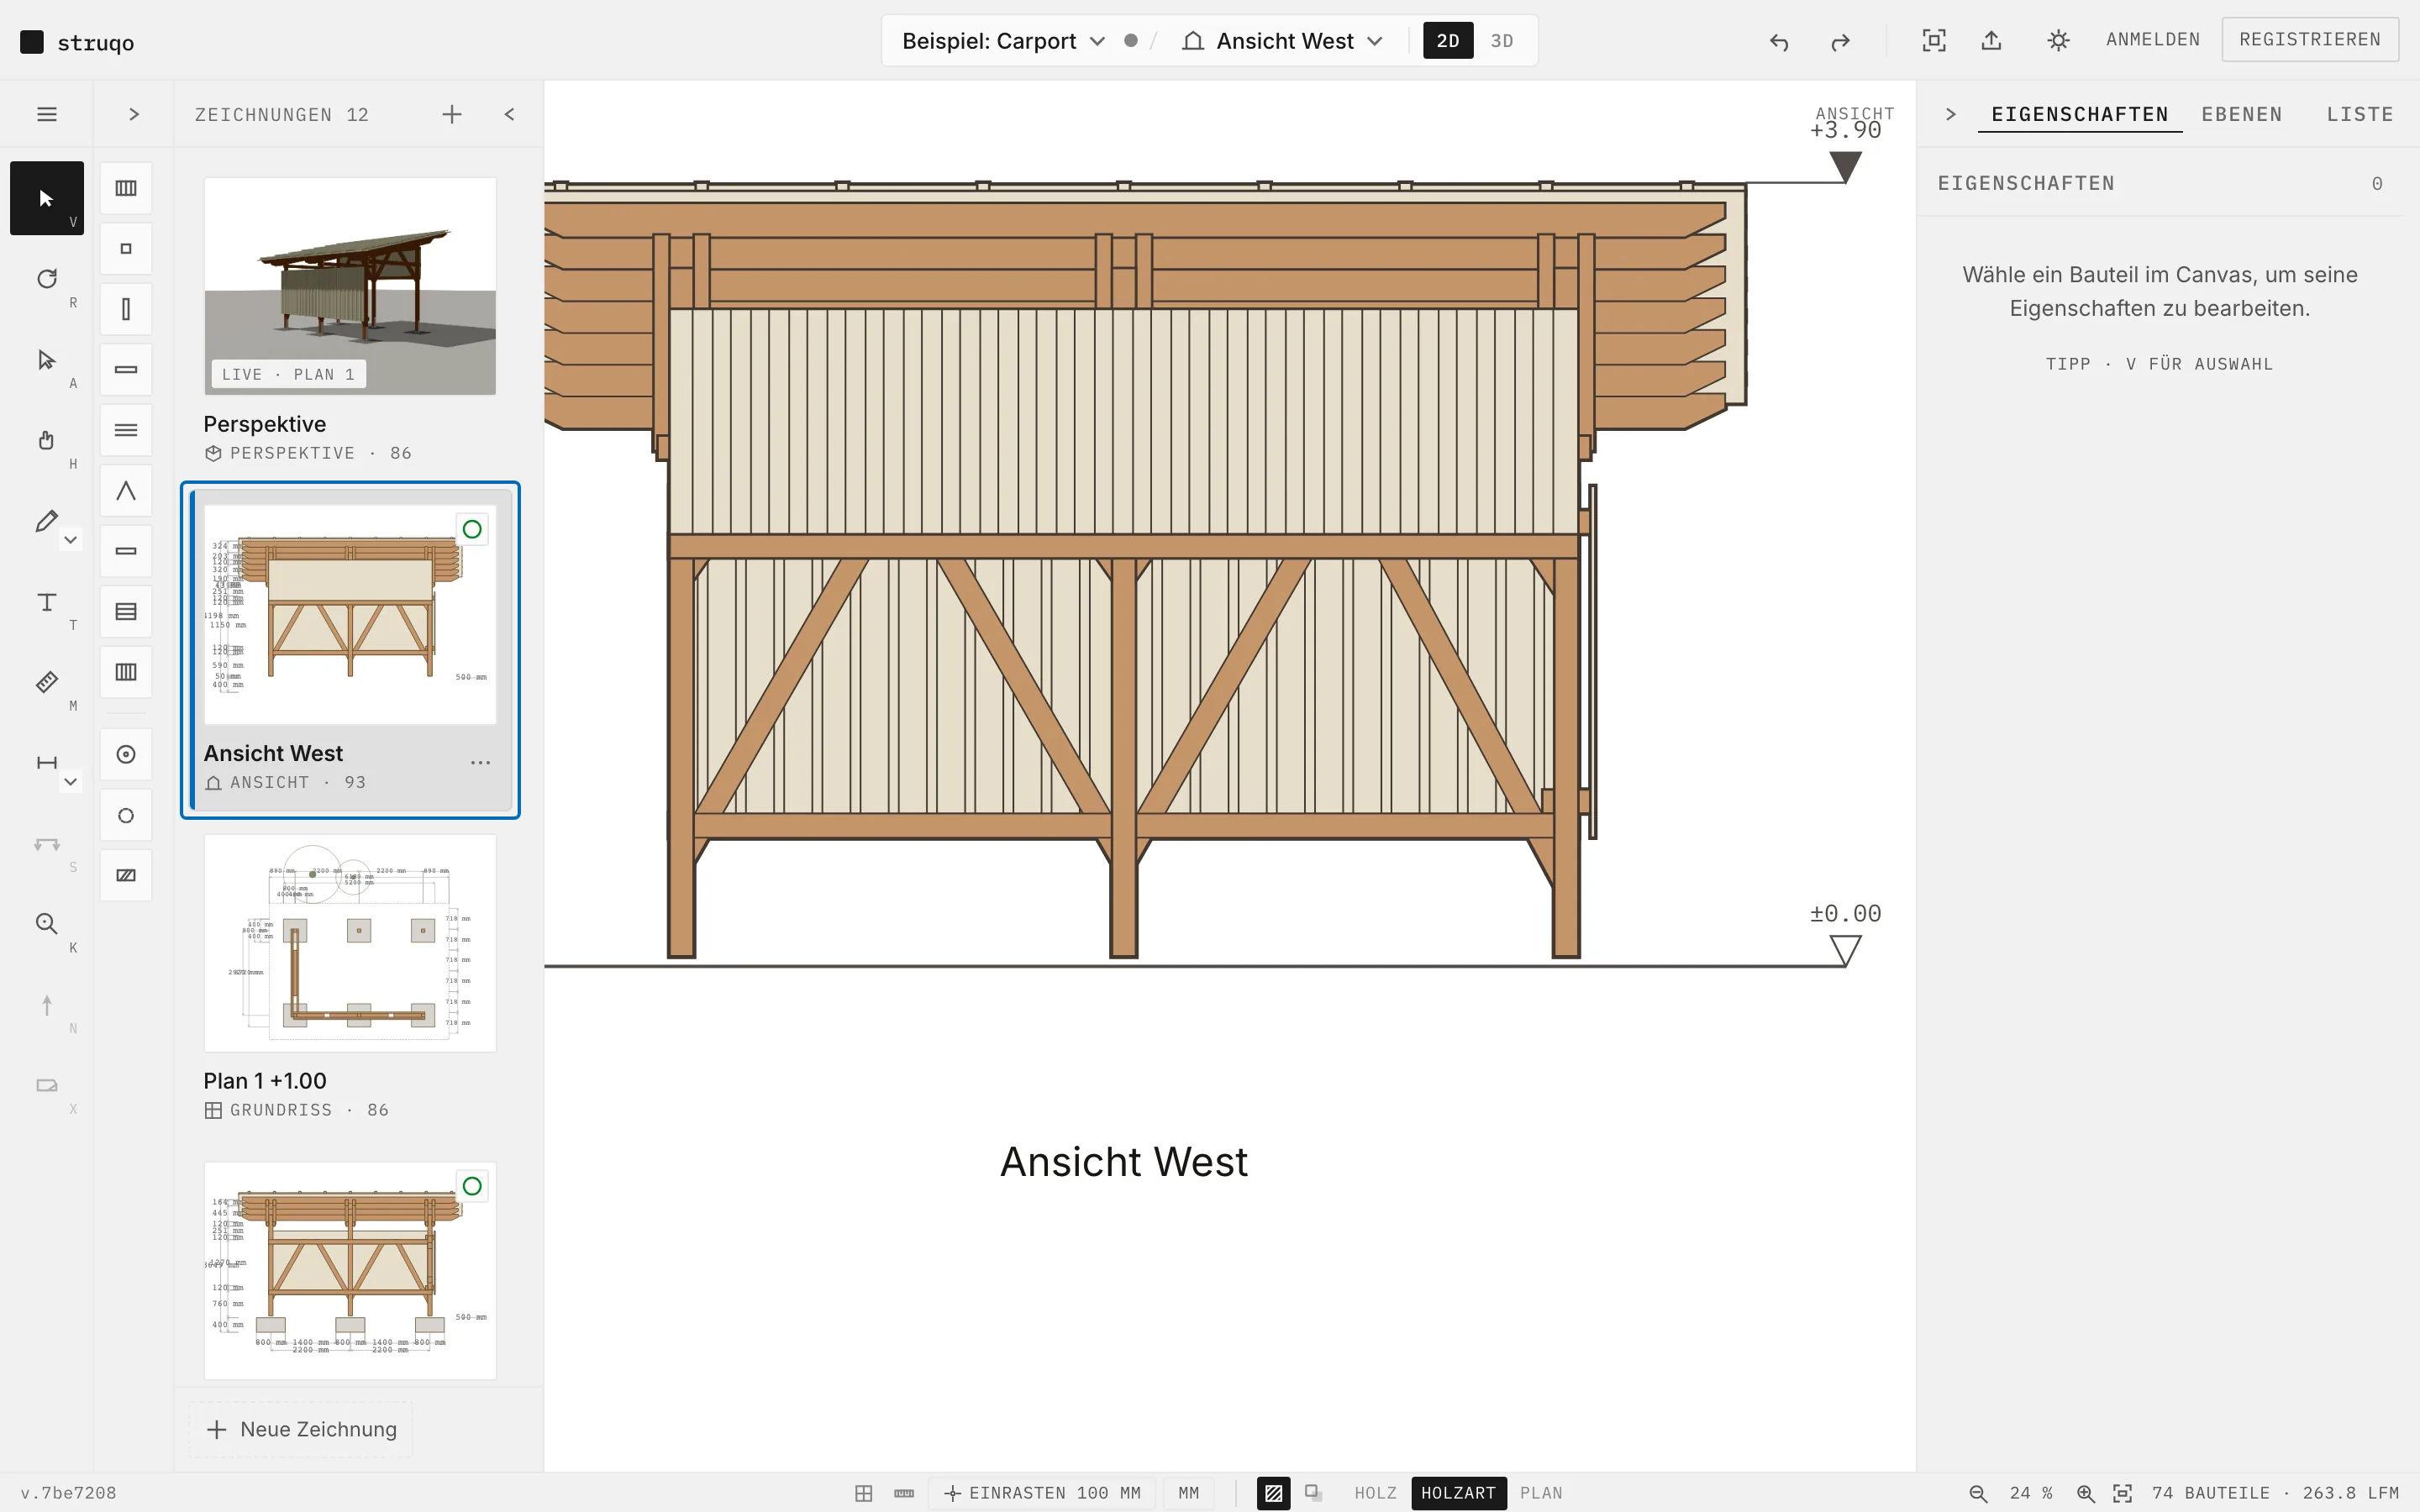
An elevation shows the building straight on from north, east, south or west, without perspective. The west elevation shows cladding, braces and roof with the levels ±0.00 and +3.90.
More
- You add an elevation with “New drawing” and “Elevation” and pick the direction.
- It needs a plan to come from.
Details.
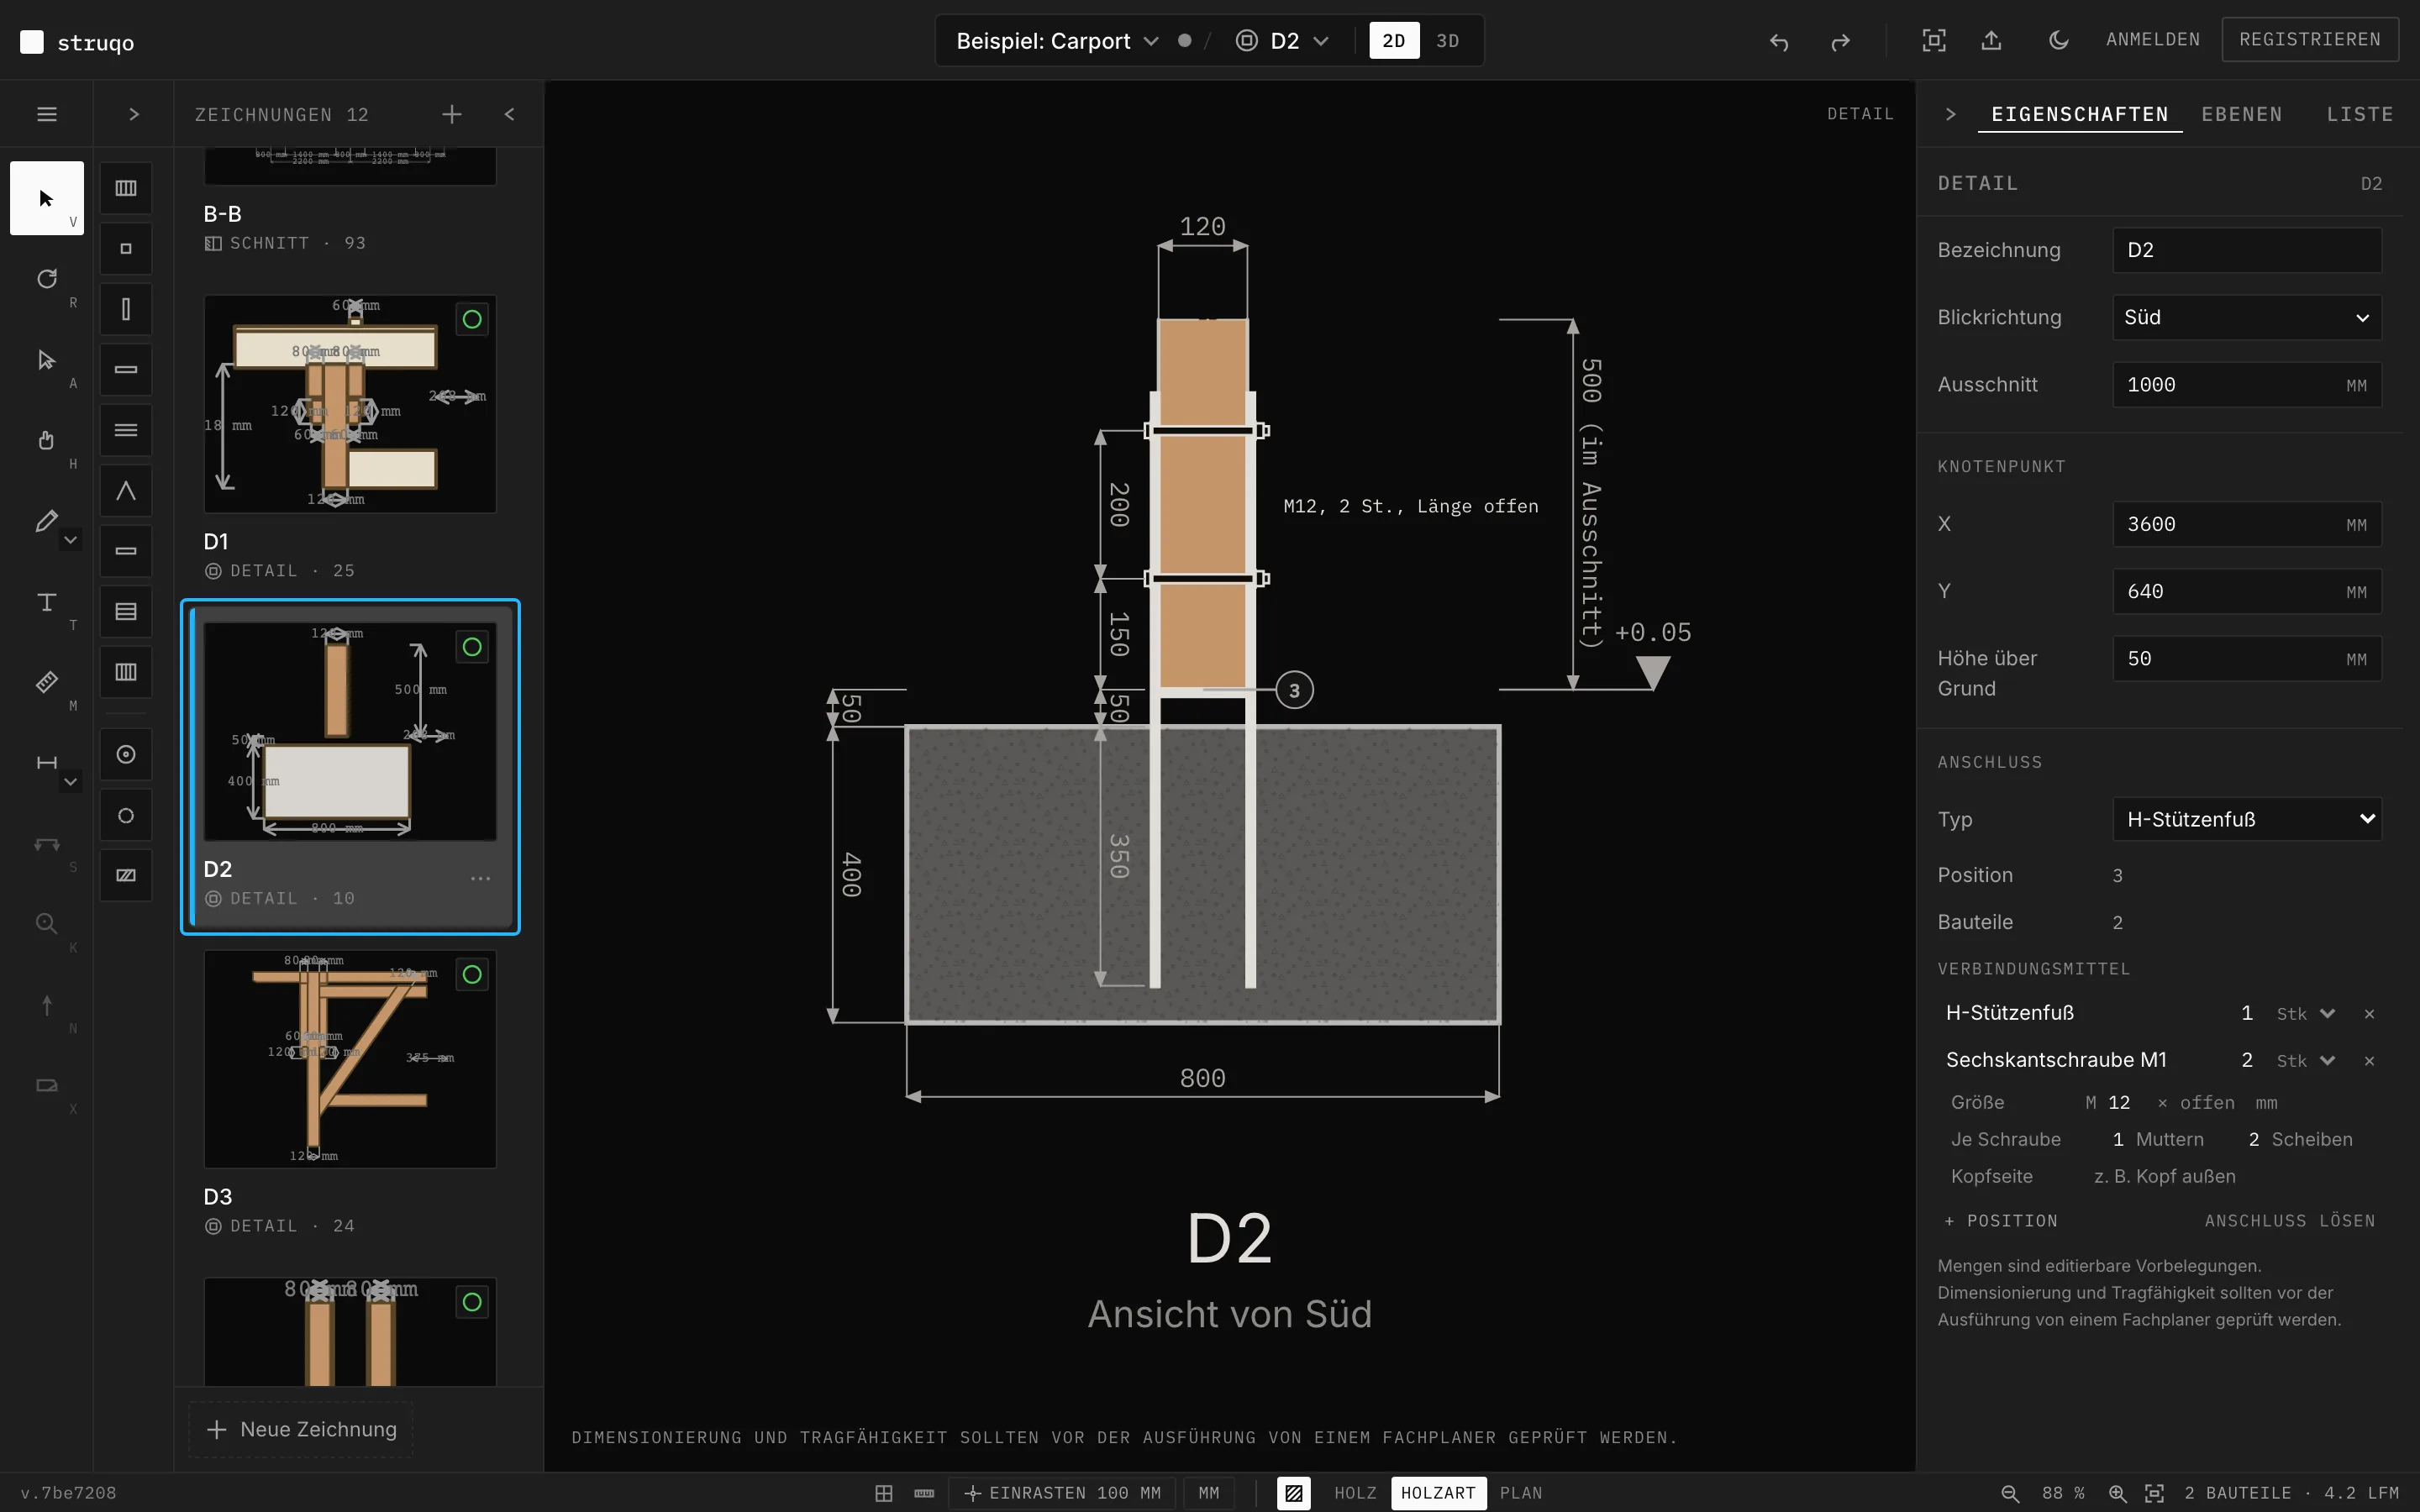
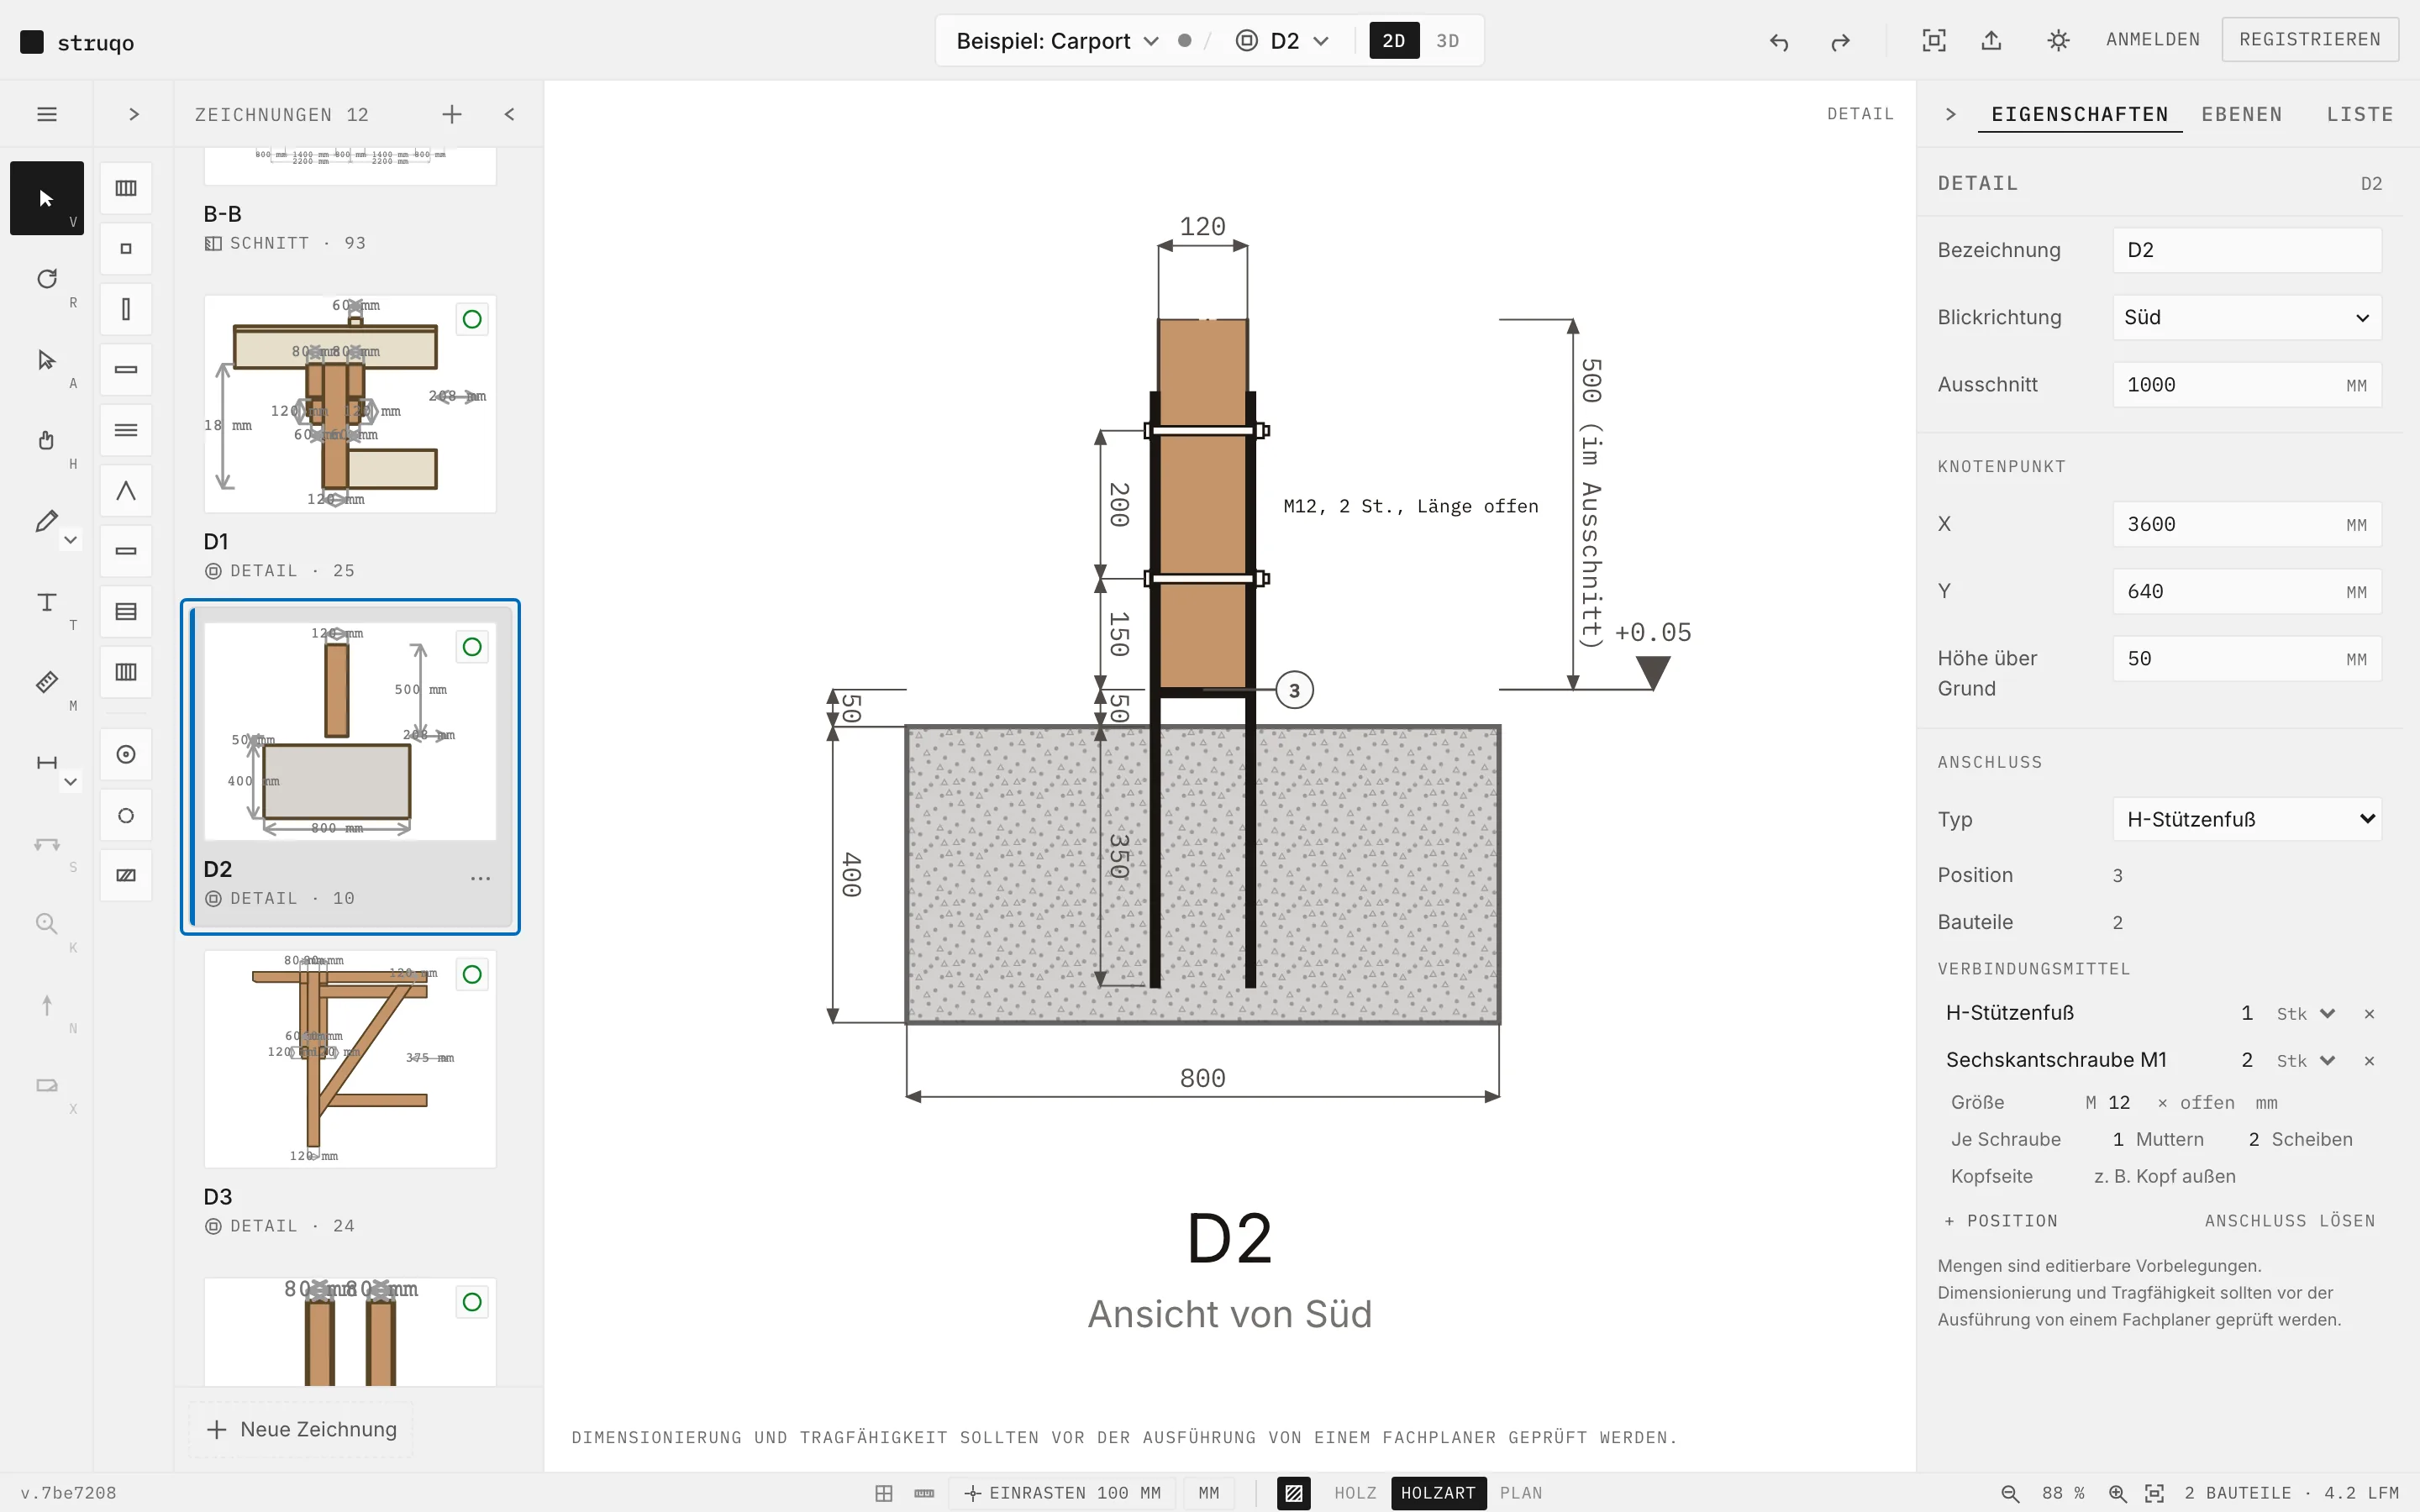
A detail cuts a node out of the model, with its own viewing direction and its own crop. D2 shows the post base with dimensions, item number and the fasteners in the panel.
More
- You add details with the “Detail” tool.
- Every detail exists flat and in 3D, you switch between 2D and 3D at the top.
- The example carries five details.
Try out a few views
The example opens in the perspective, no account needed. In the bar on the left you switch between all twelve views.