Tools
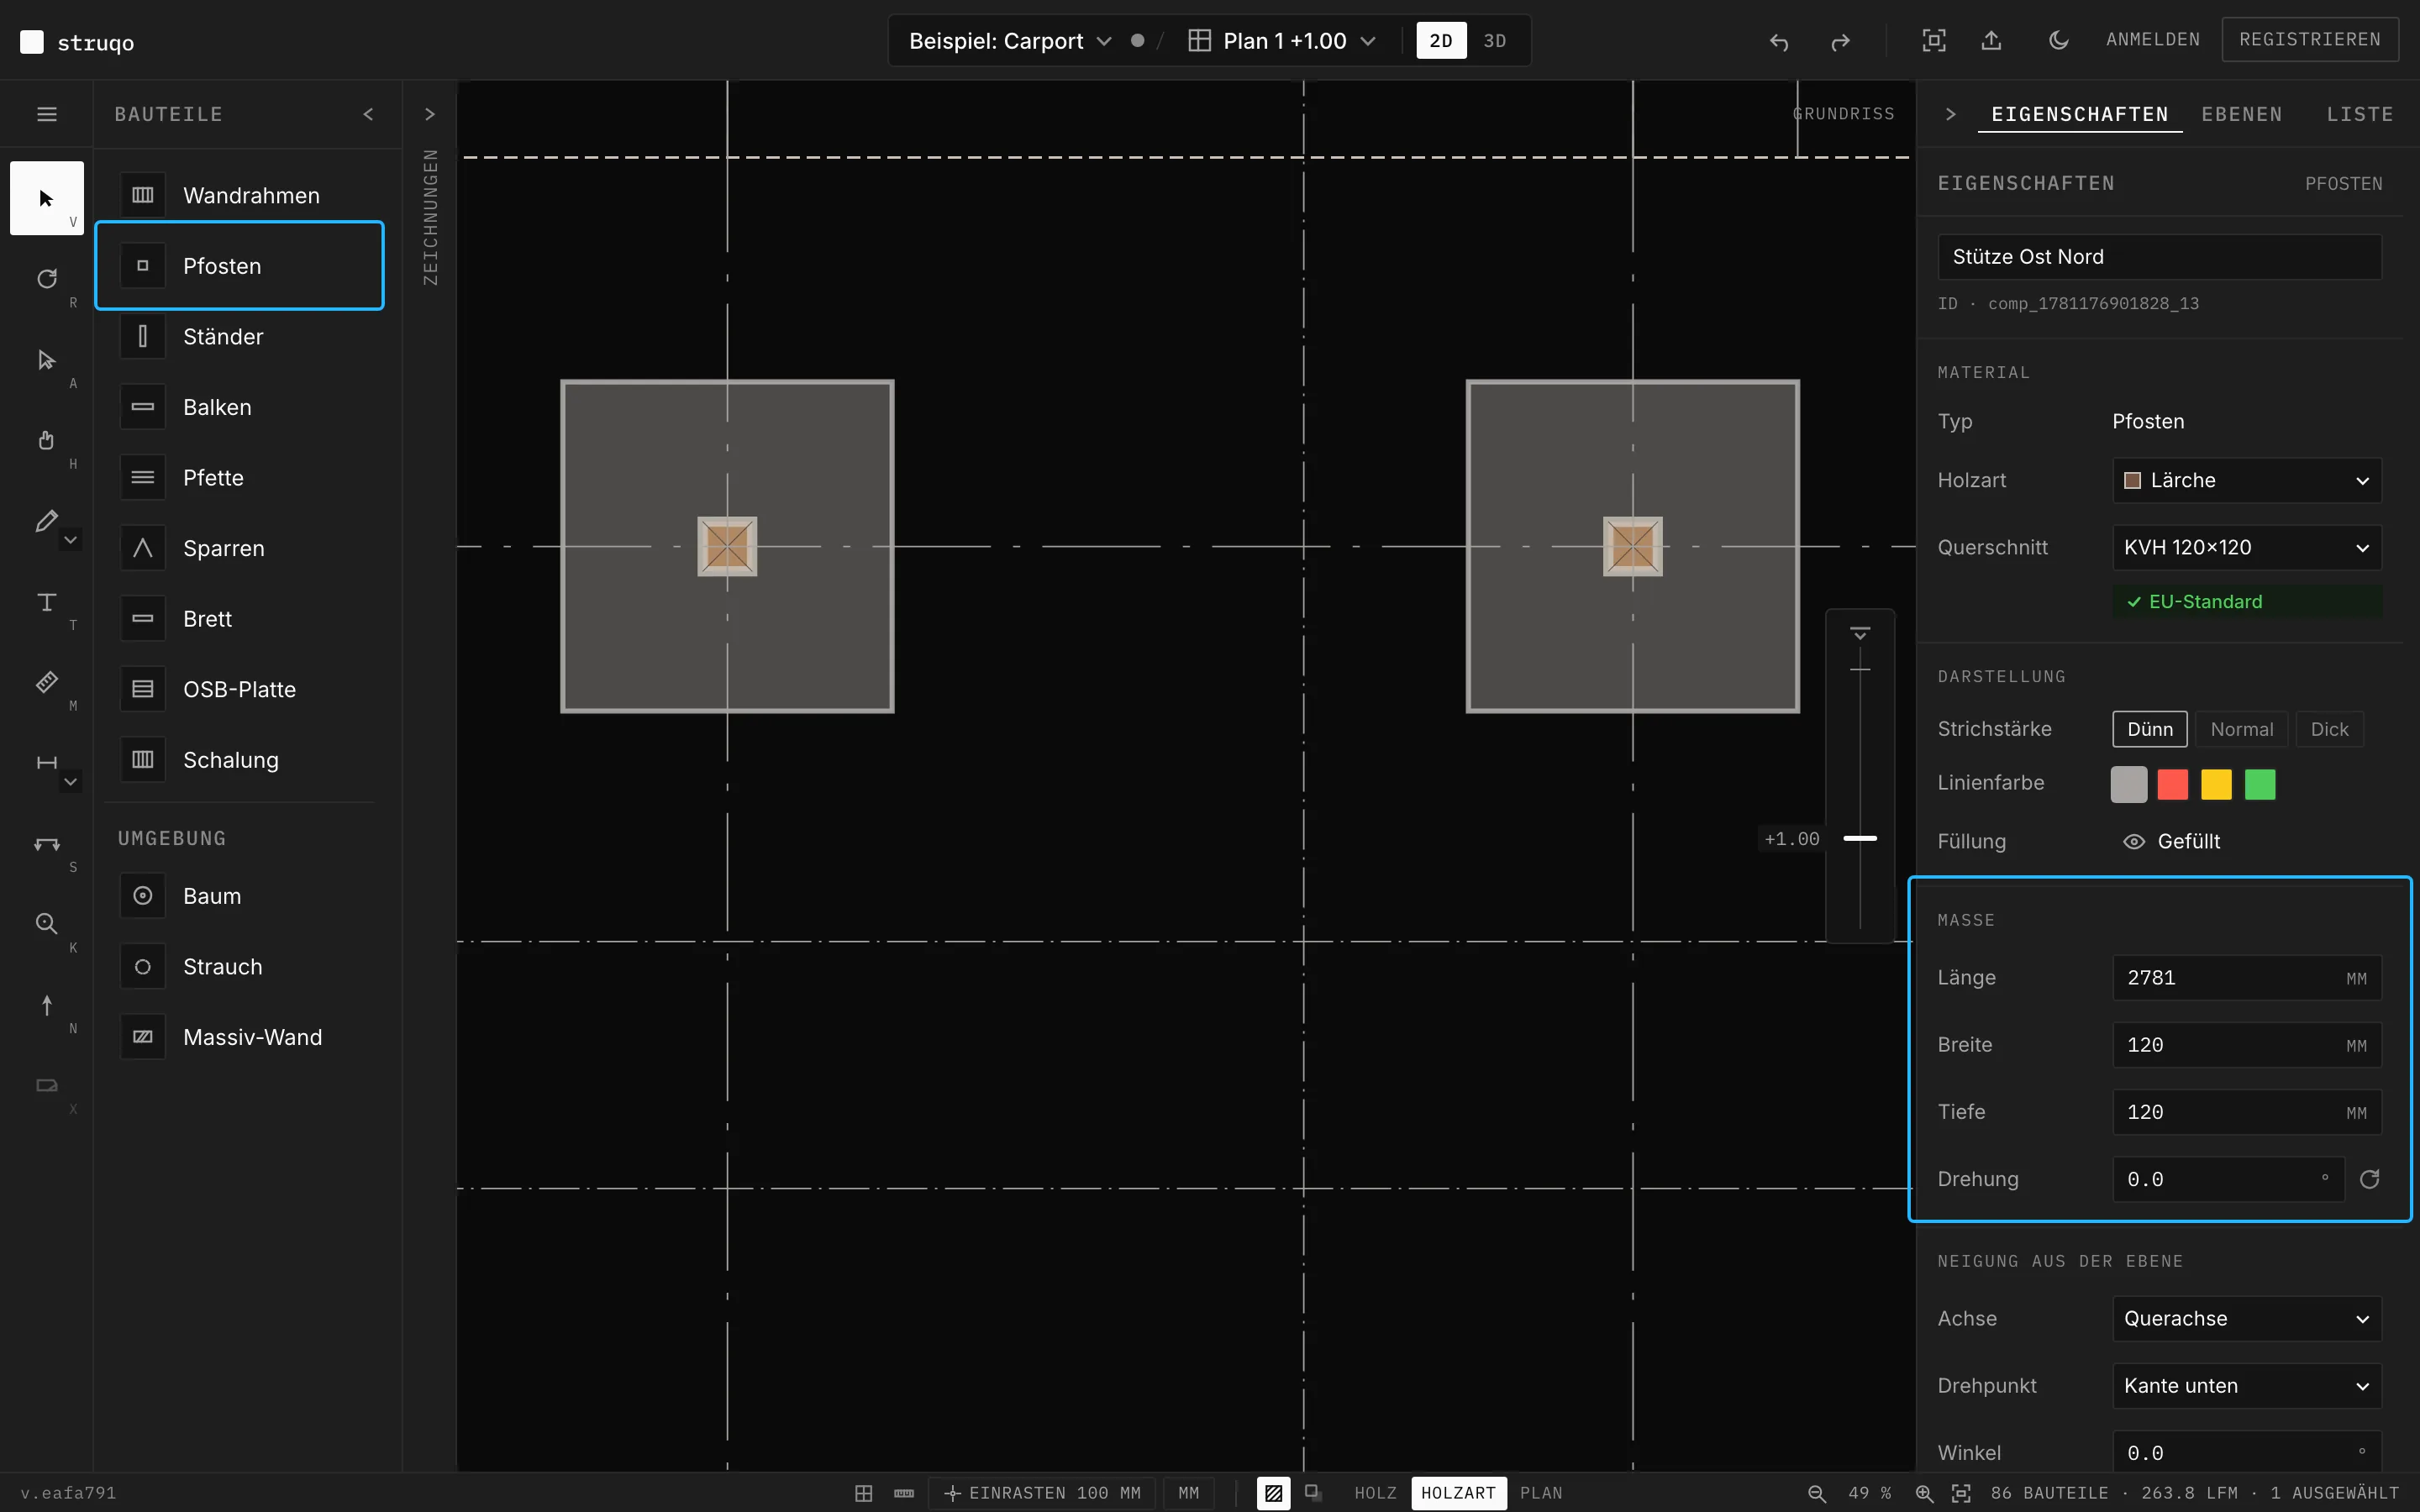
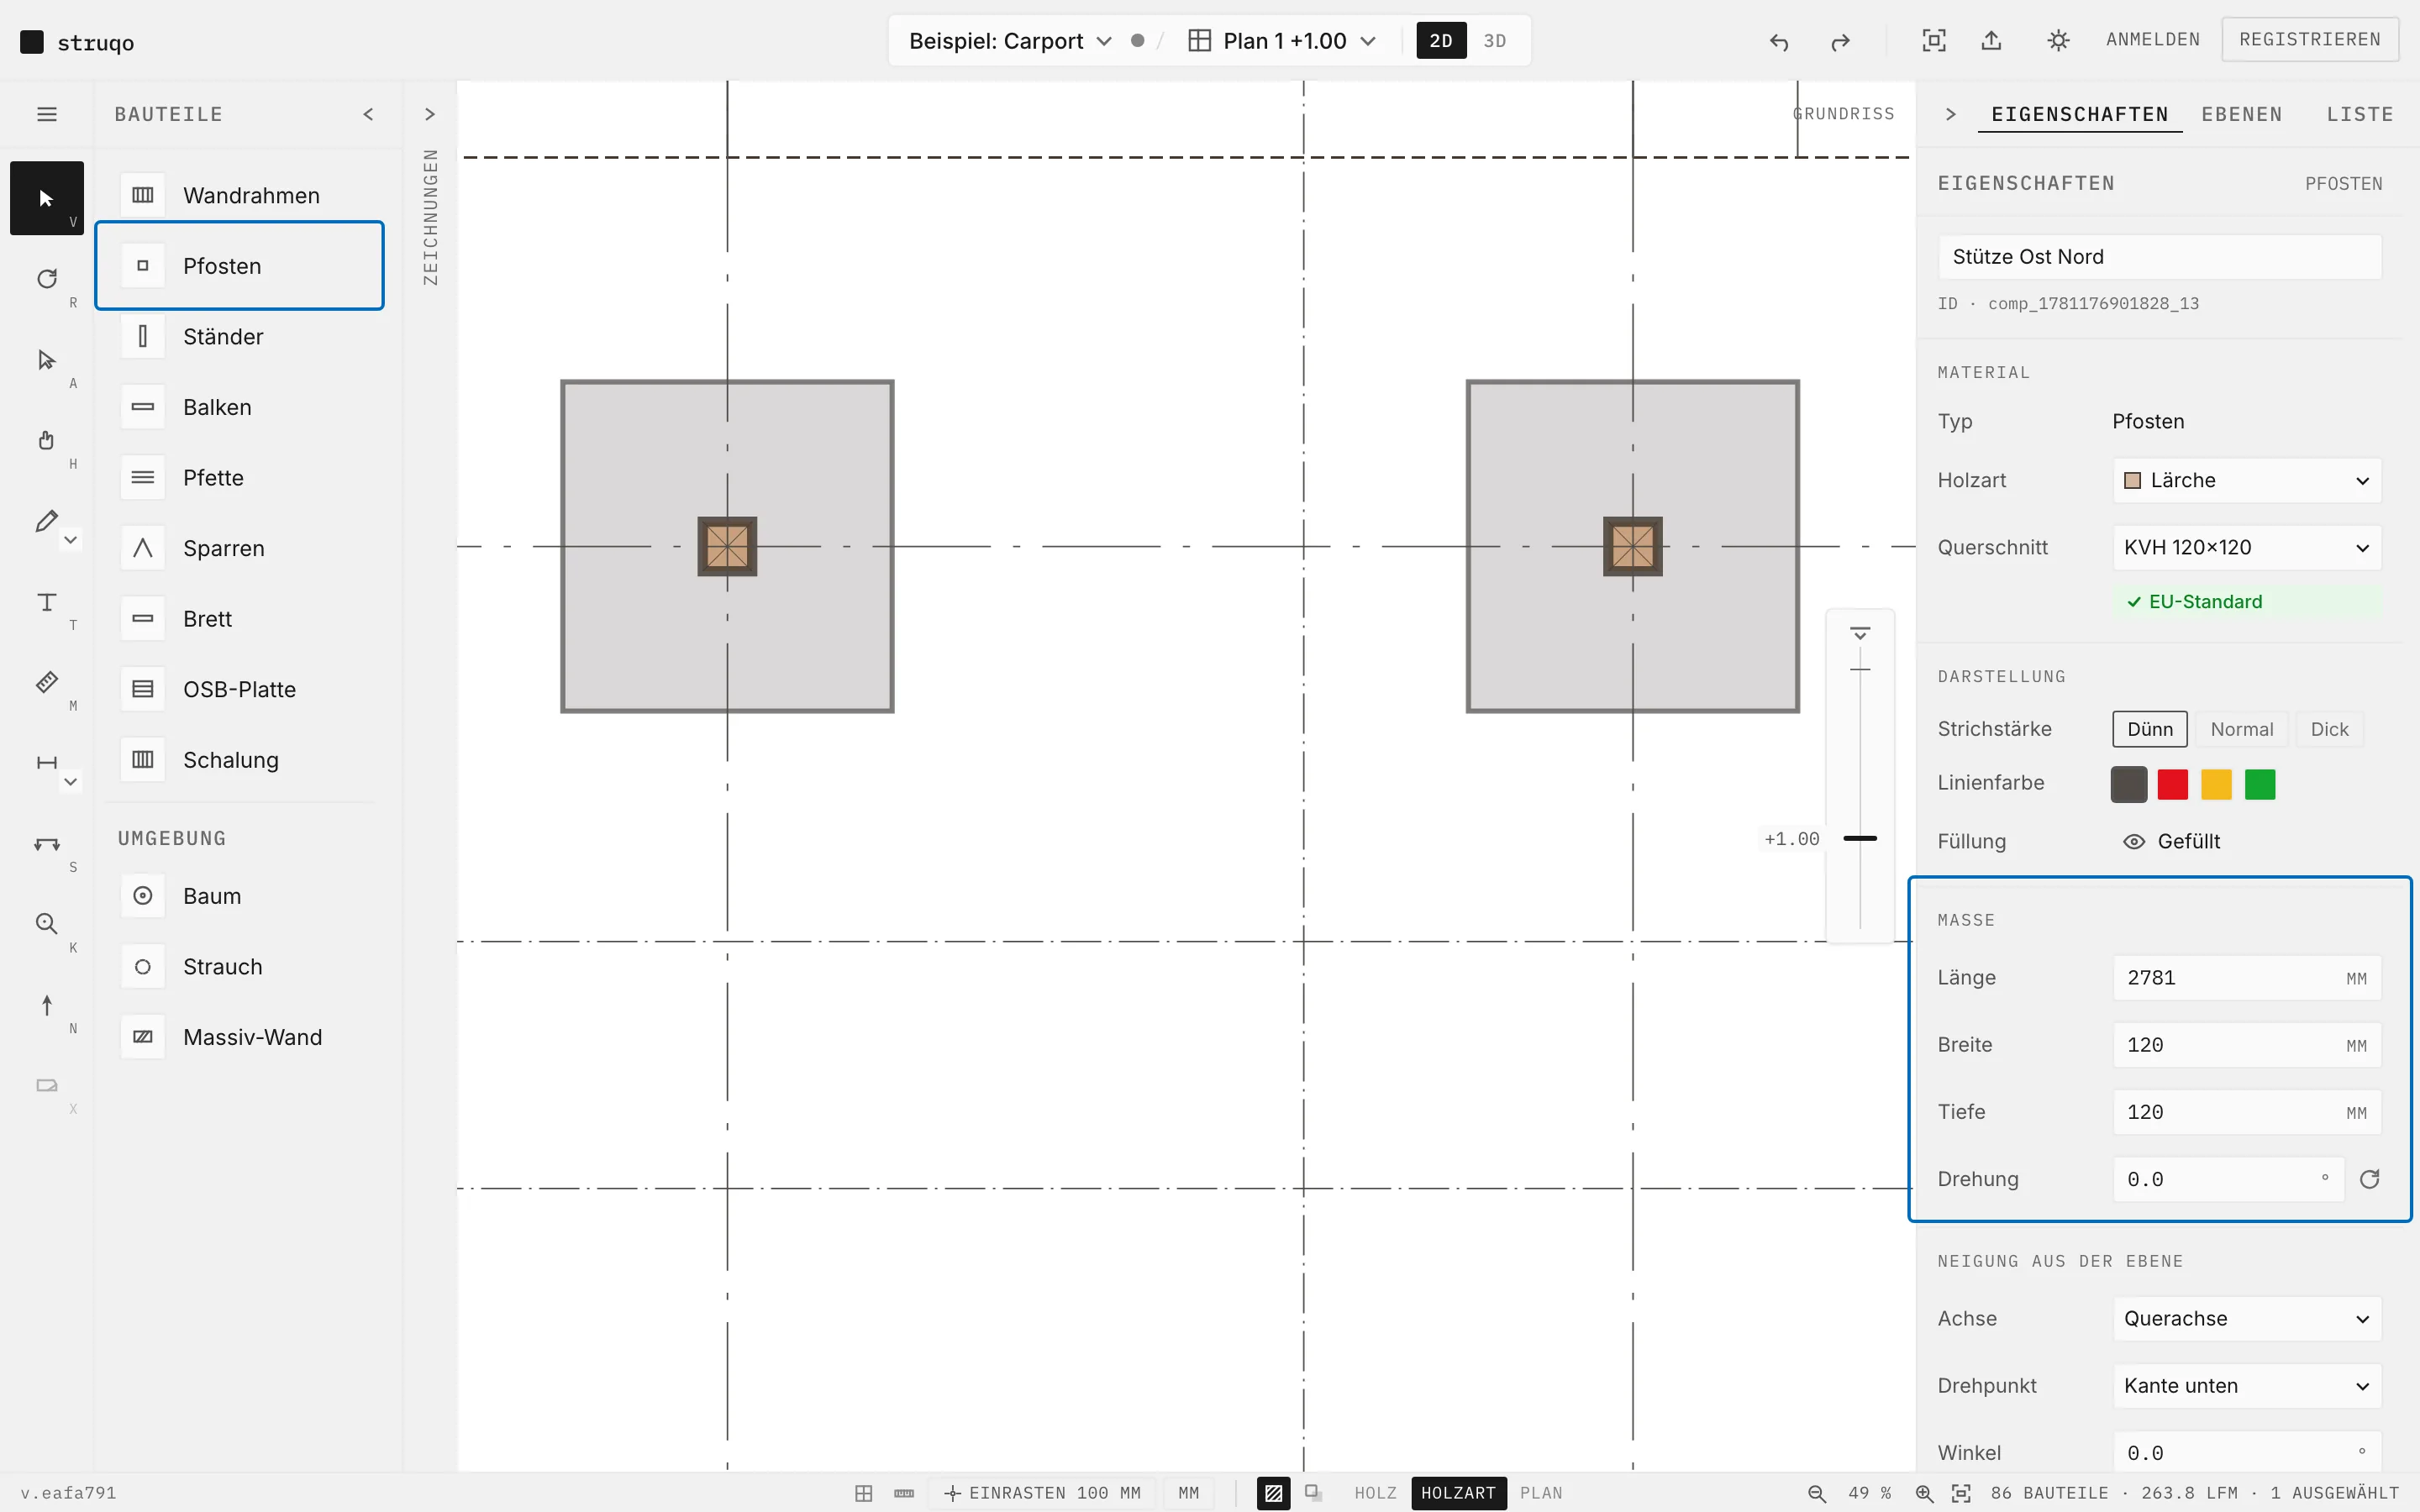
You place parts in the floor plan, type their sizes as numbers and dimension what you want to build. Here are the tools for it, each shown on the example carport. The control each section is about is marked in the picture.
Parts from the bar.
On the left sits the bar with the parts: post, beam, purlin, rafter, board, sheathing and more. One click places the part in the middle of the view. Length, width and depth go into the panel on the right as numbers, to the millimetre. The set square can stay in the drawer.
More
- Position, rotation and tilt are number fields in the same panel.
- Arrow keys move the selected part by 10 mm, with Shift by 100 mm.
- For free shapes there is the polygon: each click sets a corner, a double click closes the shape.
- Pen, rectangle, circle and triangle sketch freely. Sketches do not count towards the cutlist.
Dimensions stick to the parts.
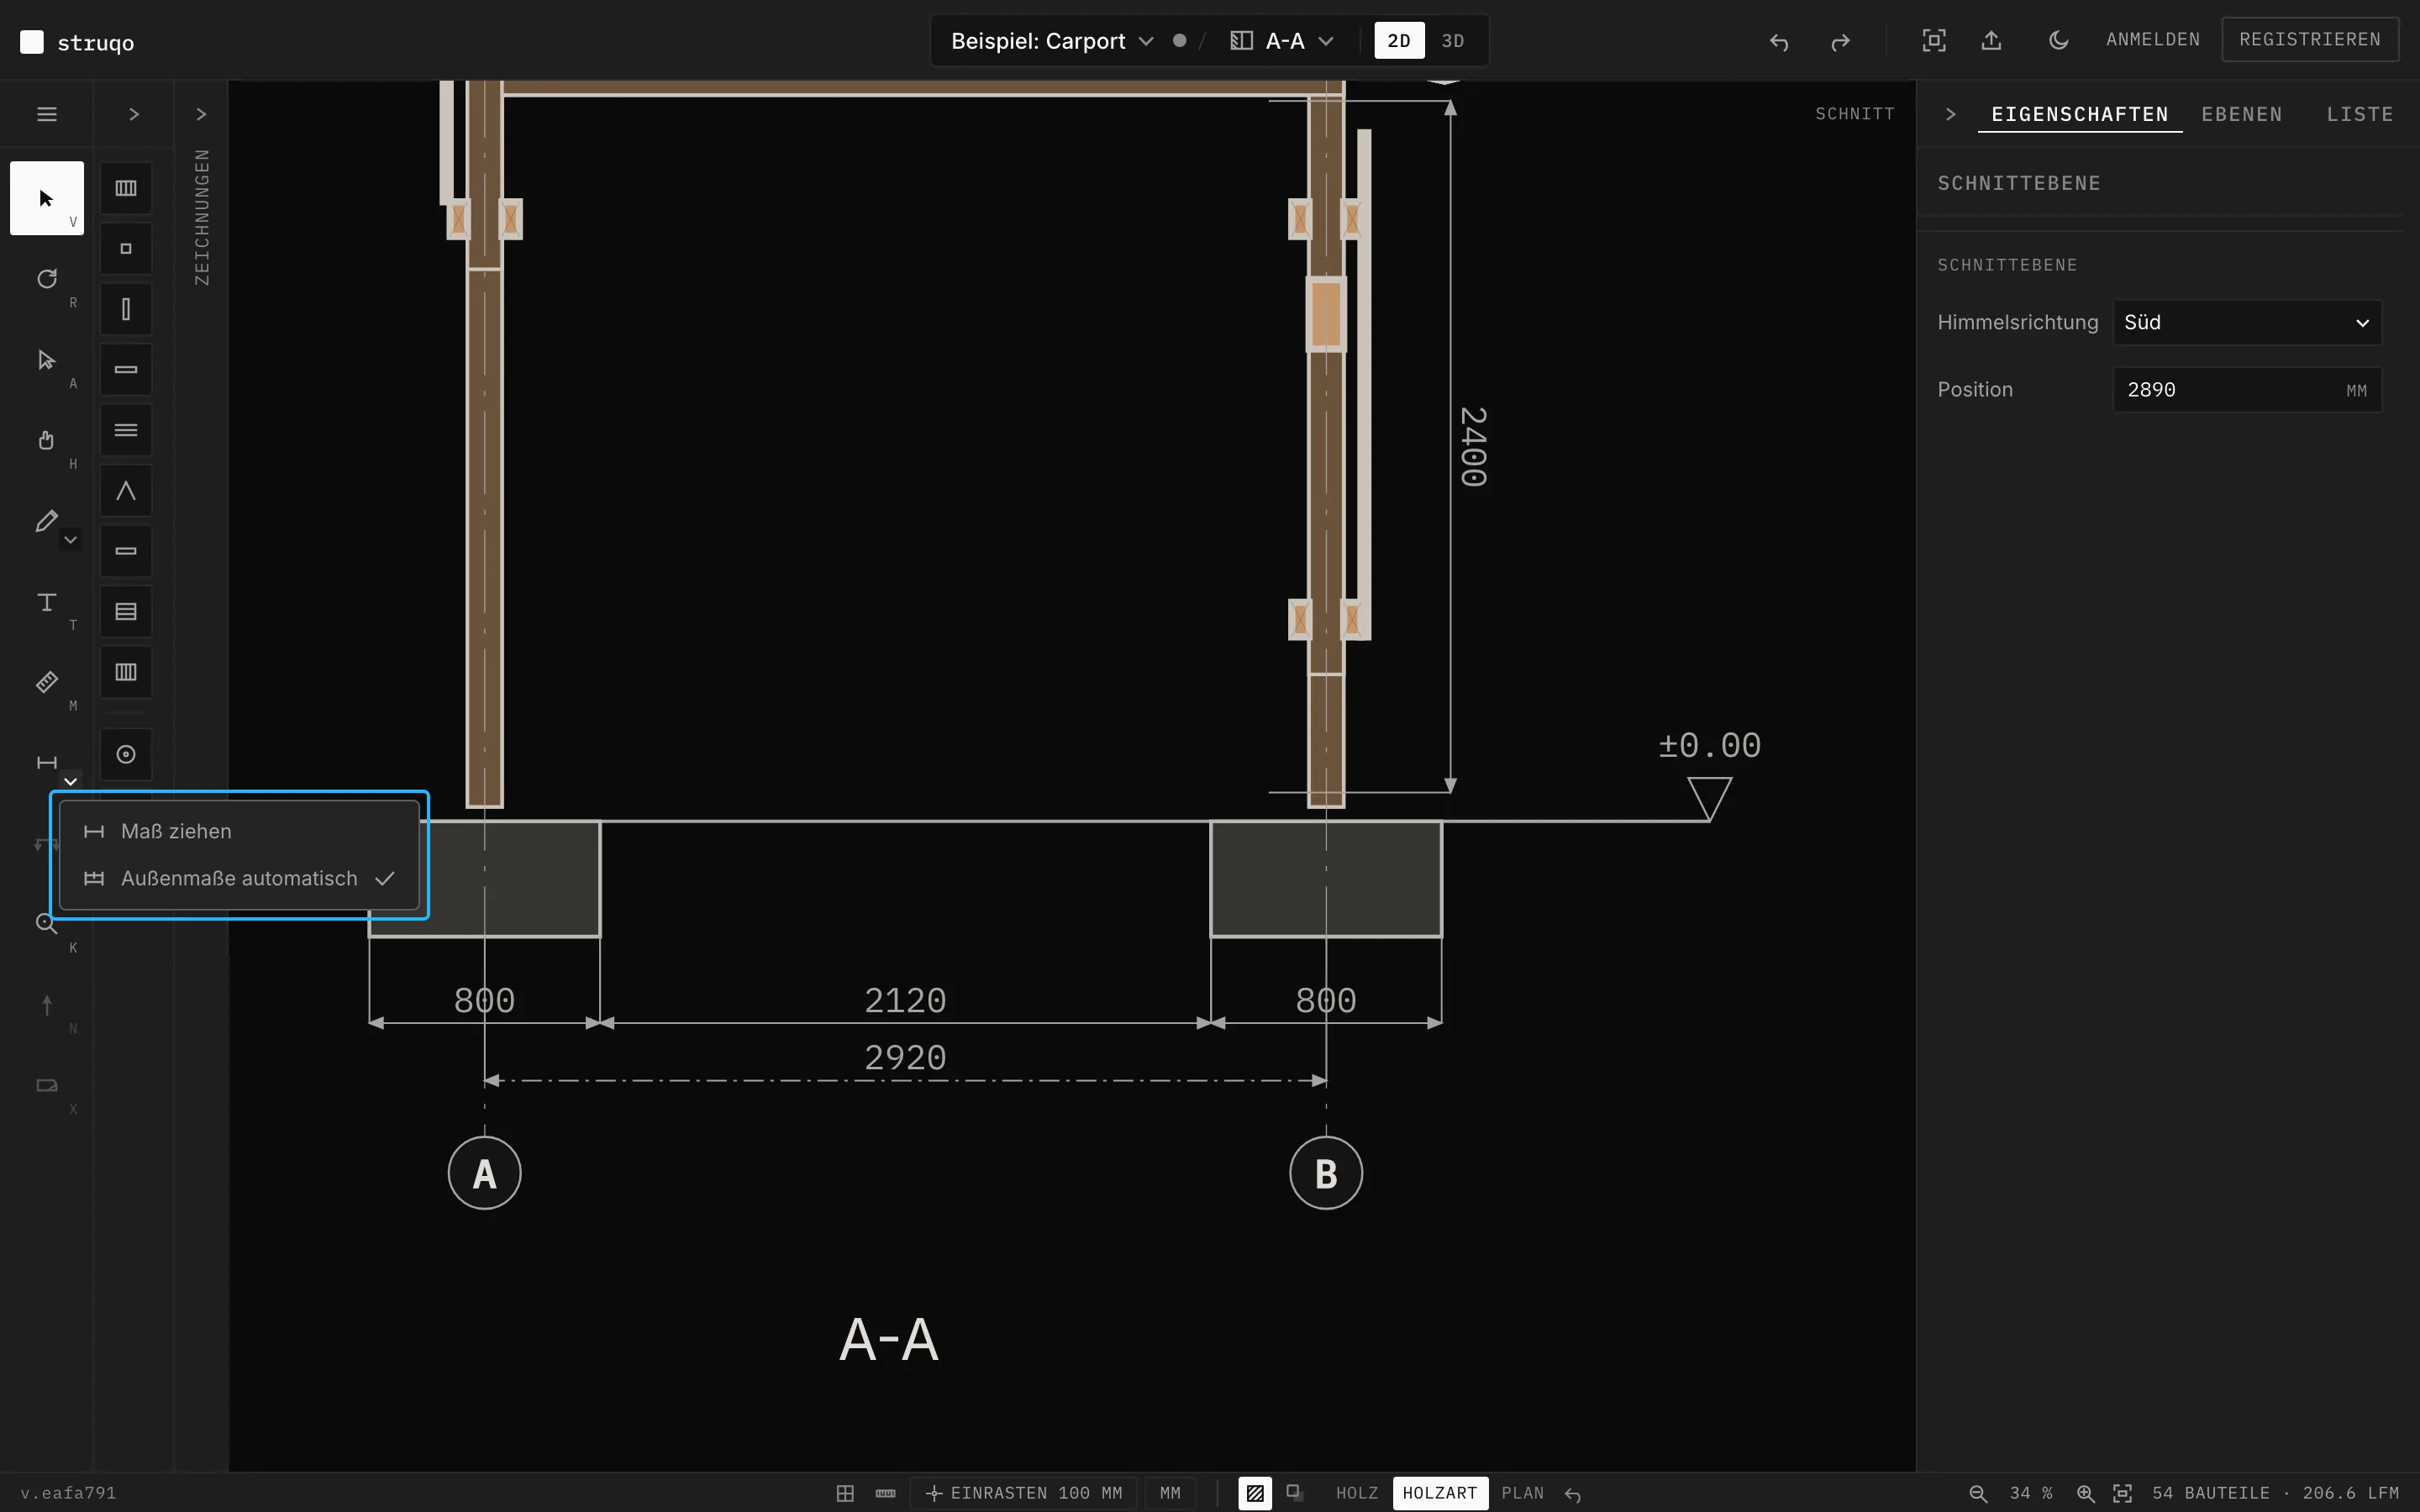
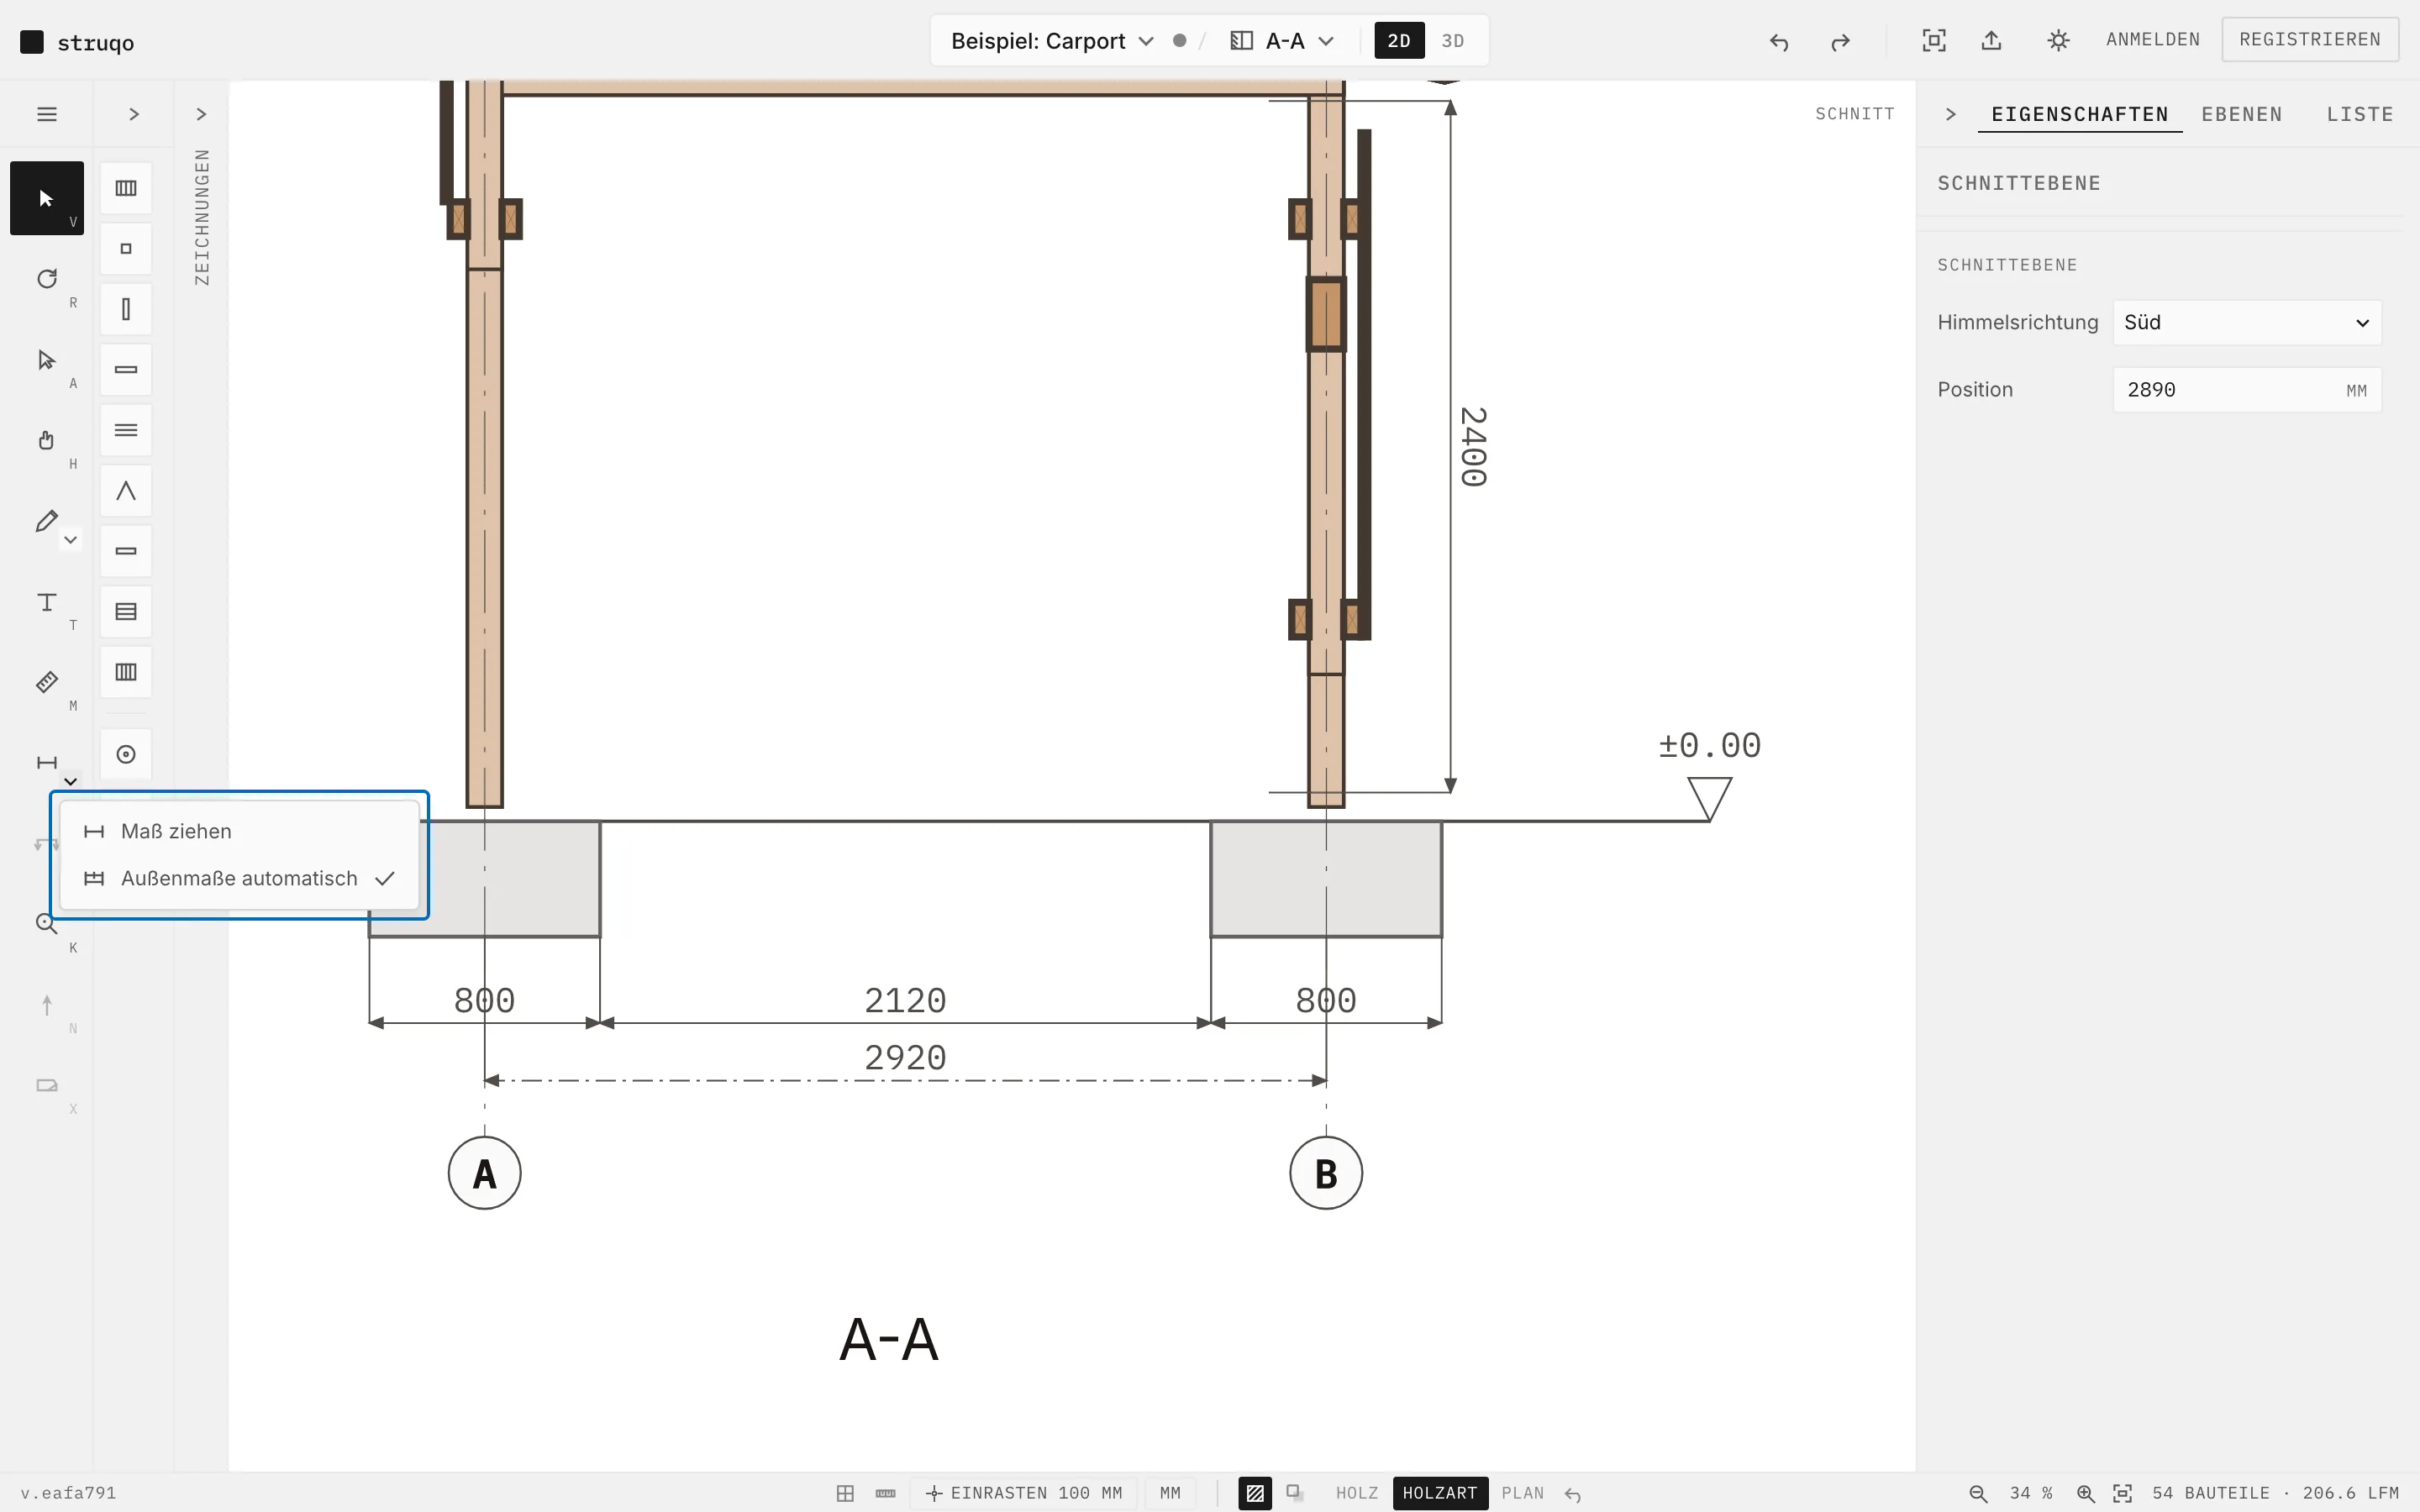
With “Draw dimension” you click two points. The dimension snaps to corners and edge midpoints of the parts, and when you move a part afterwards, it moves along. Struqo can set the outer dimensions itself, as a chain: single dimensions inside, axis and overall dimensions further out.
More
- Dimensions belong to the view and are printed with it.
- The automatic chains never overwrite dimensions you set by hand.
- Whether dimensions show in mm, cm or m, you set in the status bar at the bottom.
You set the cut height.
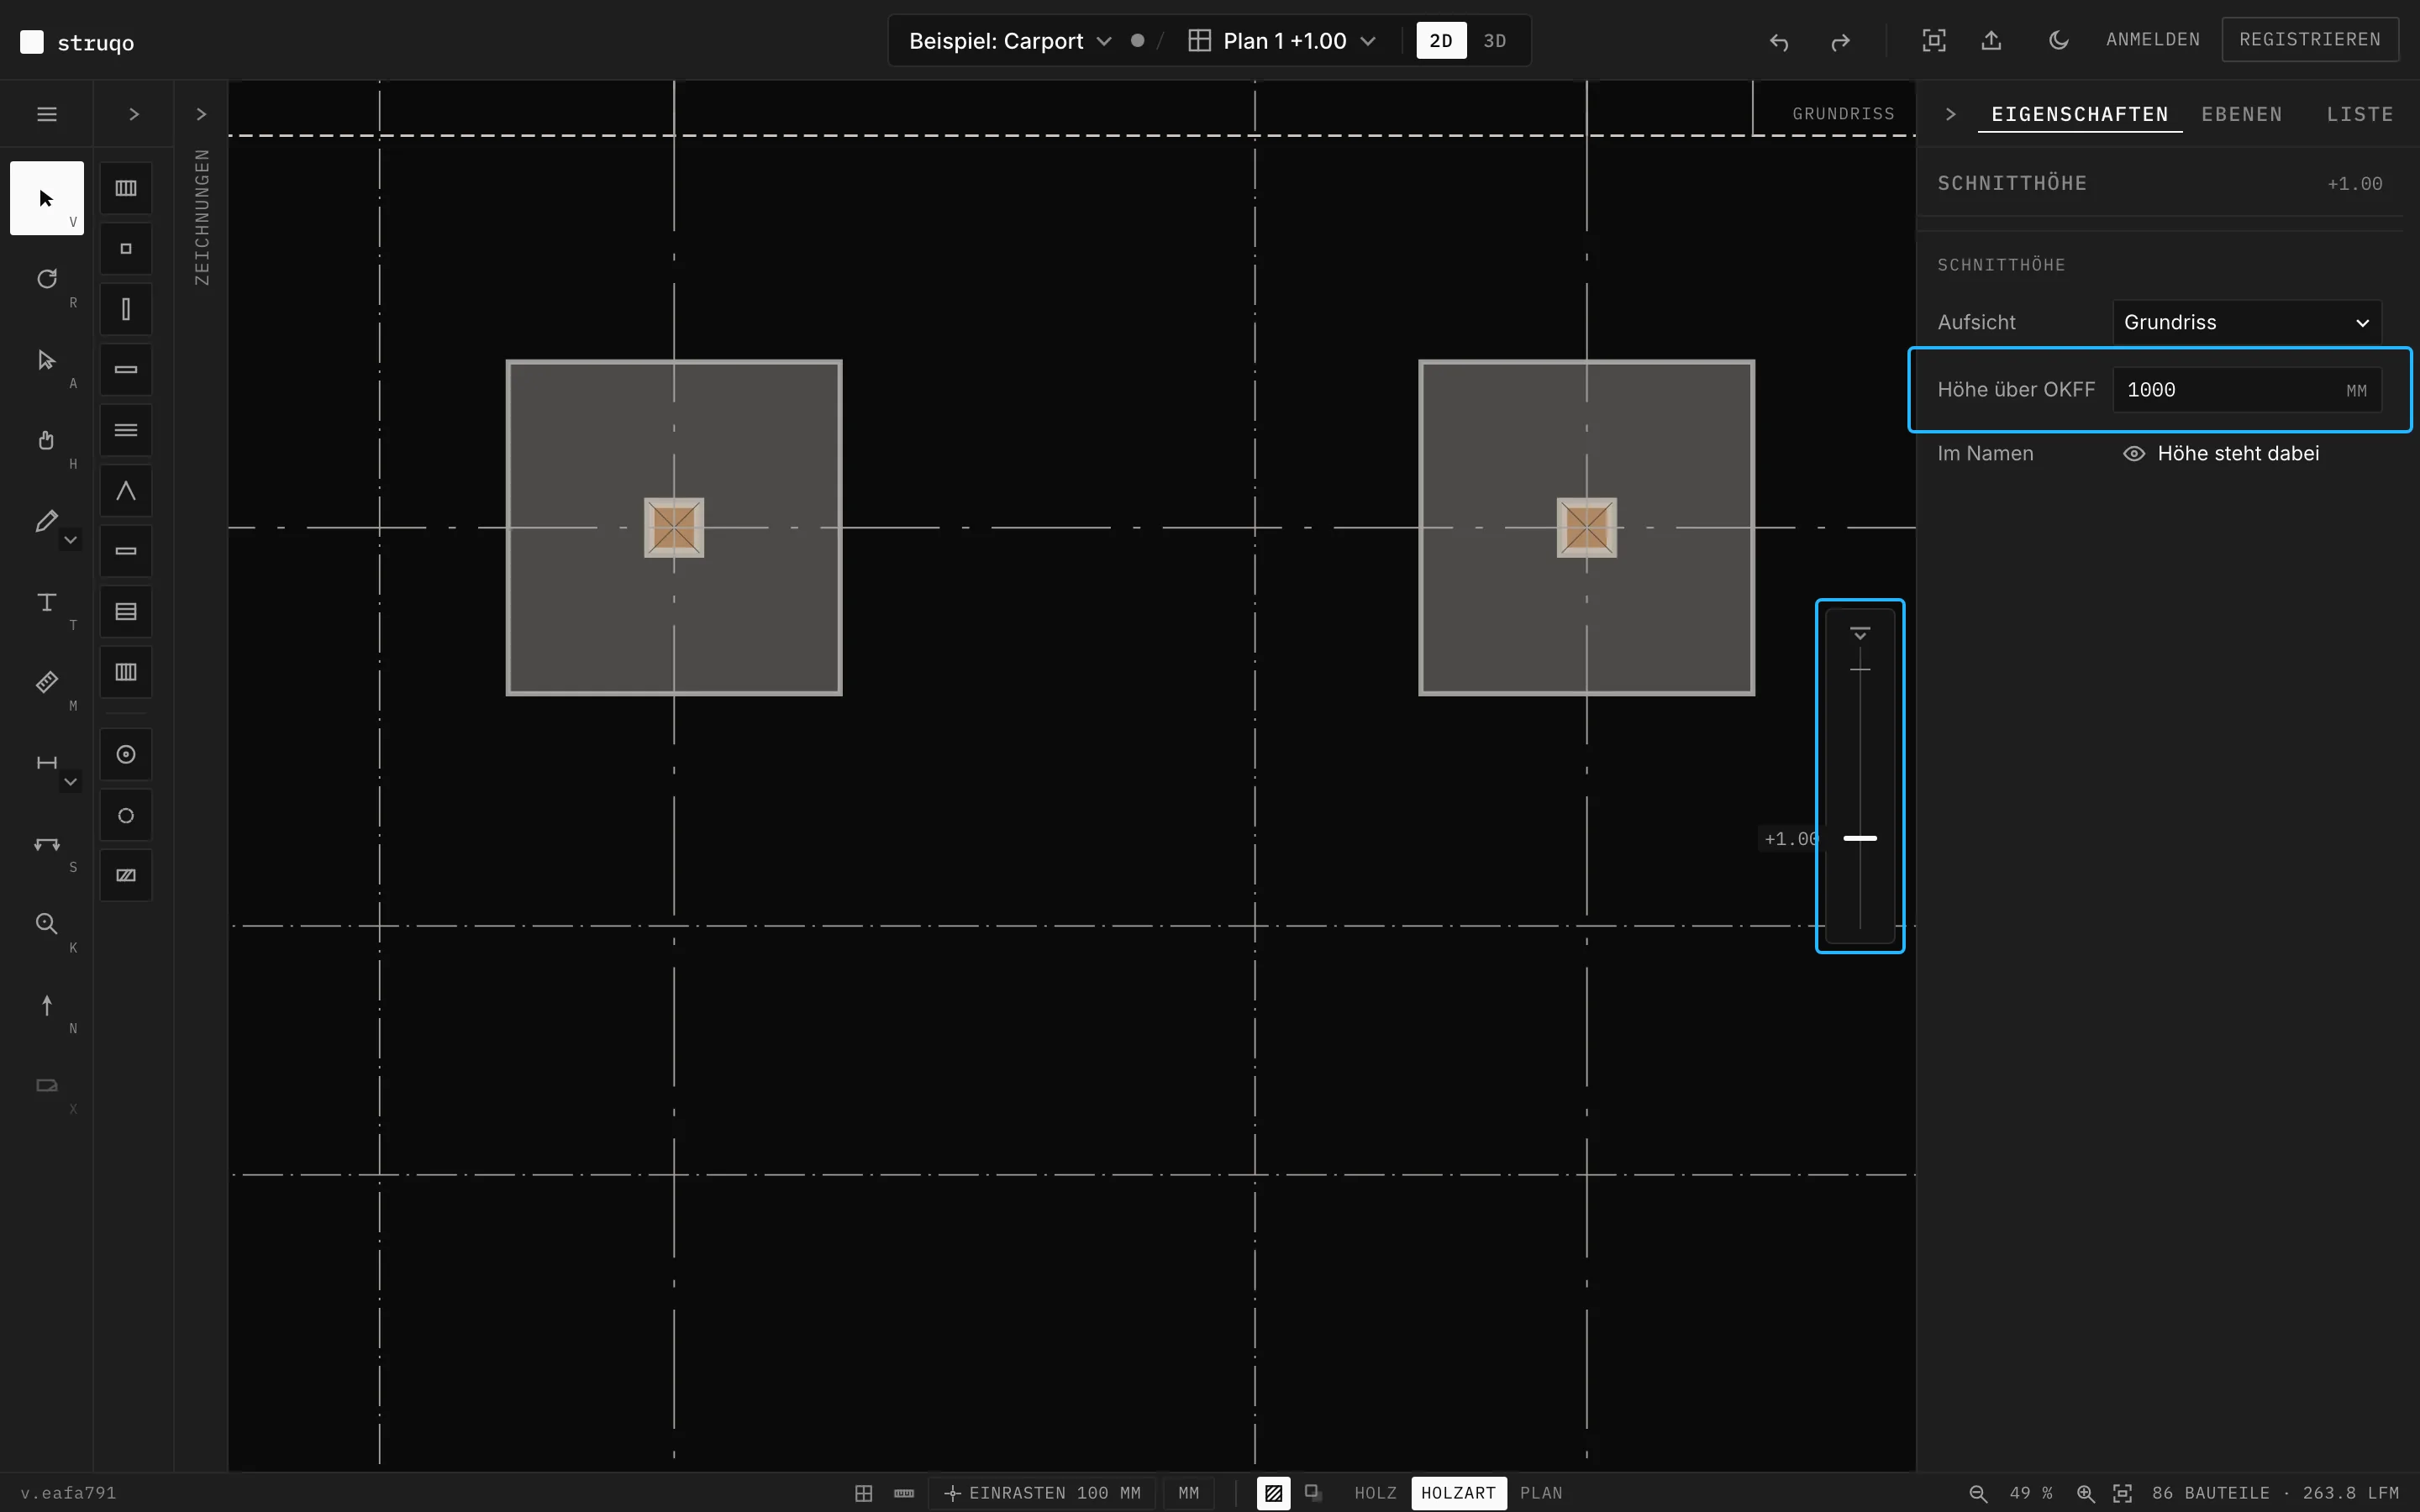
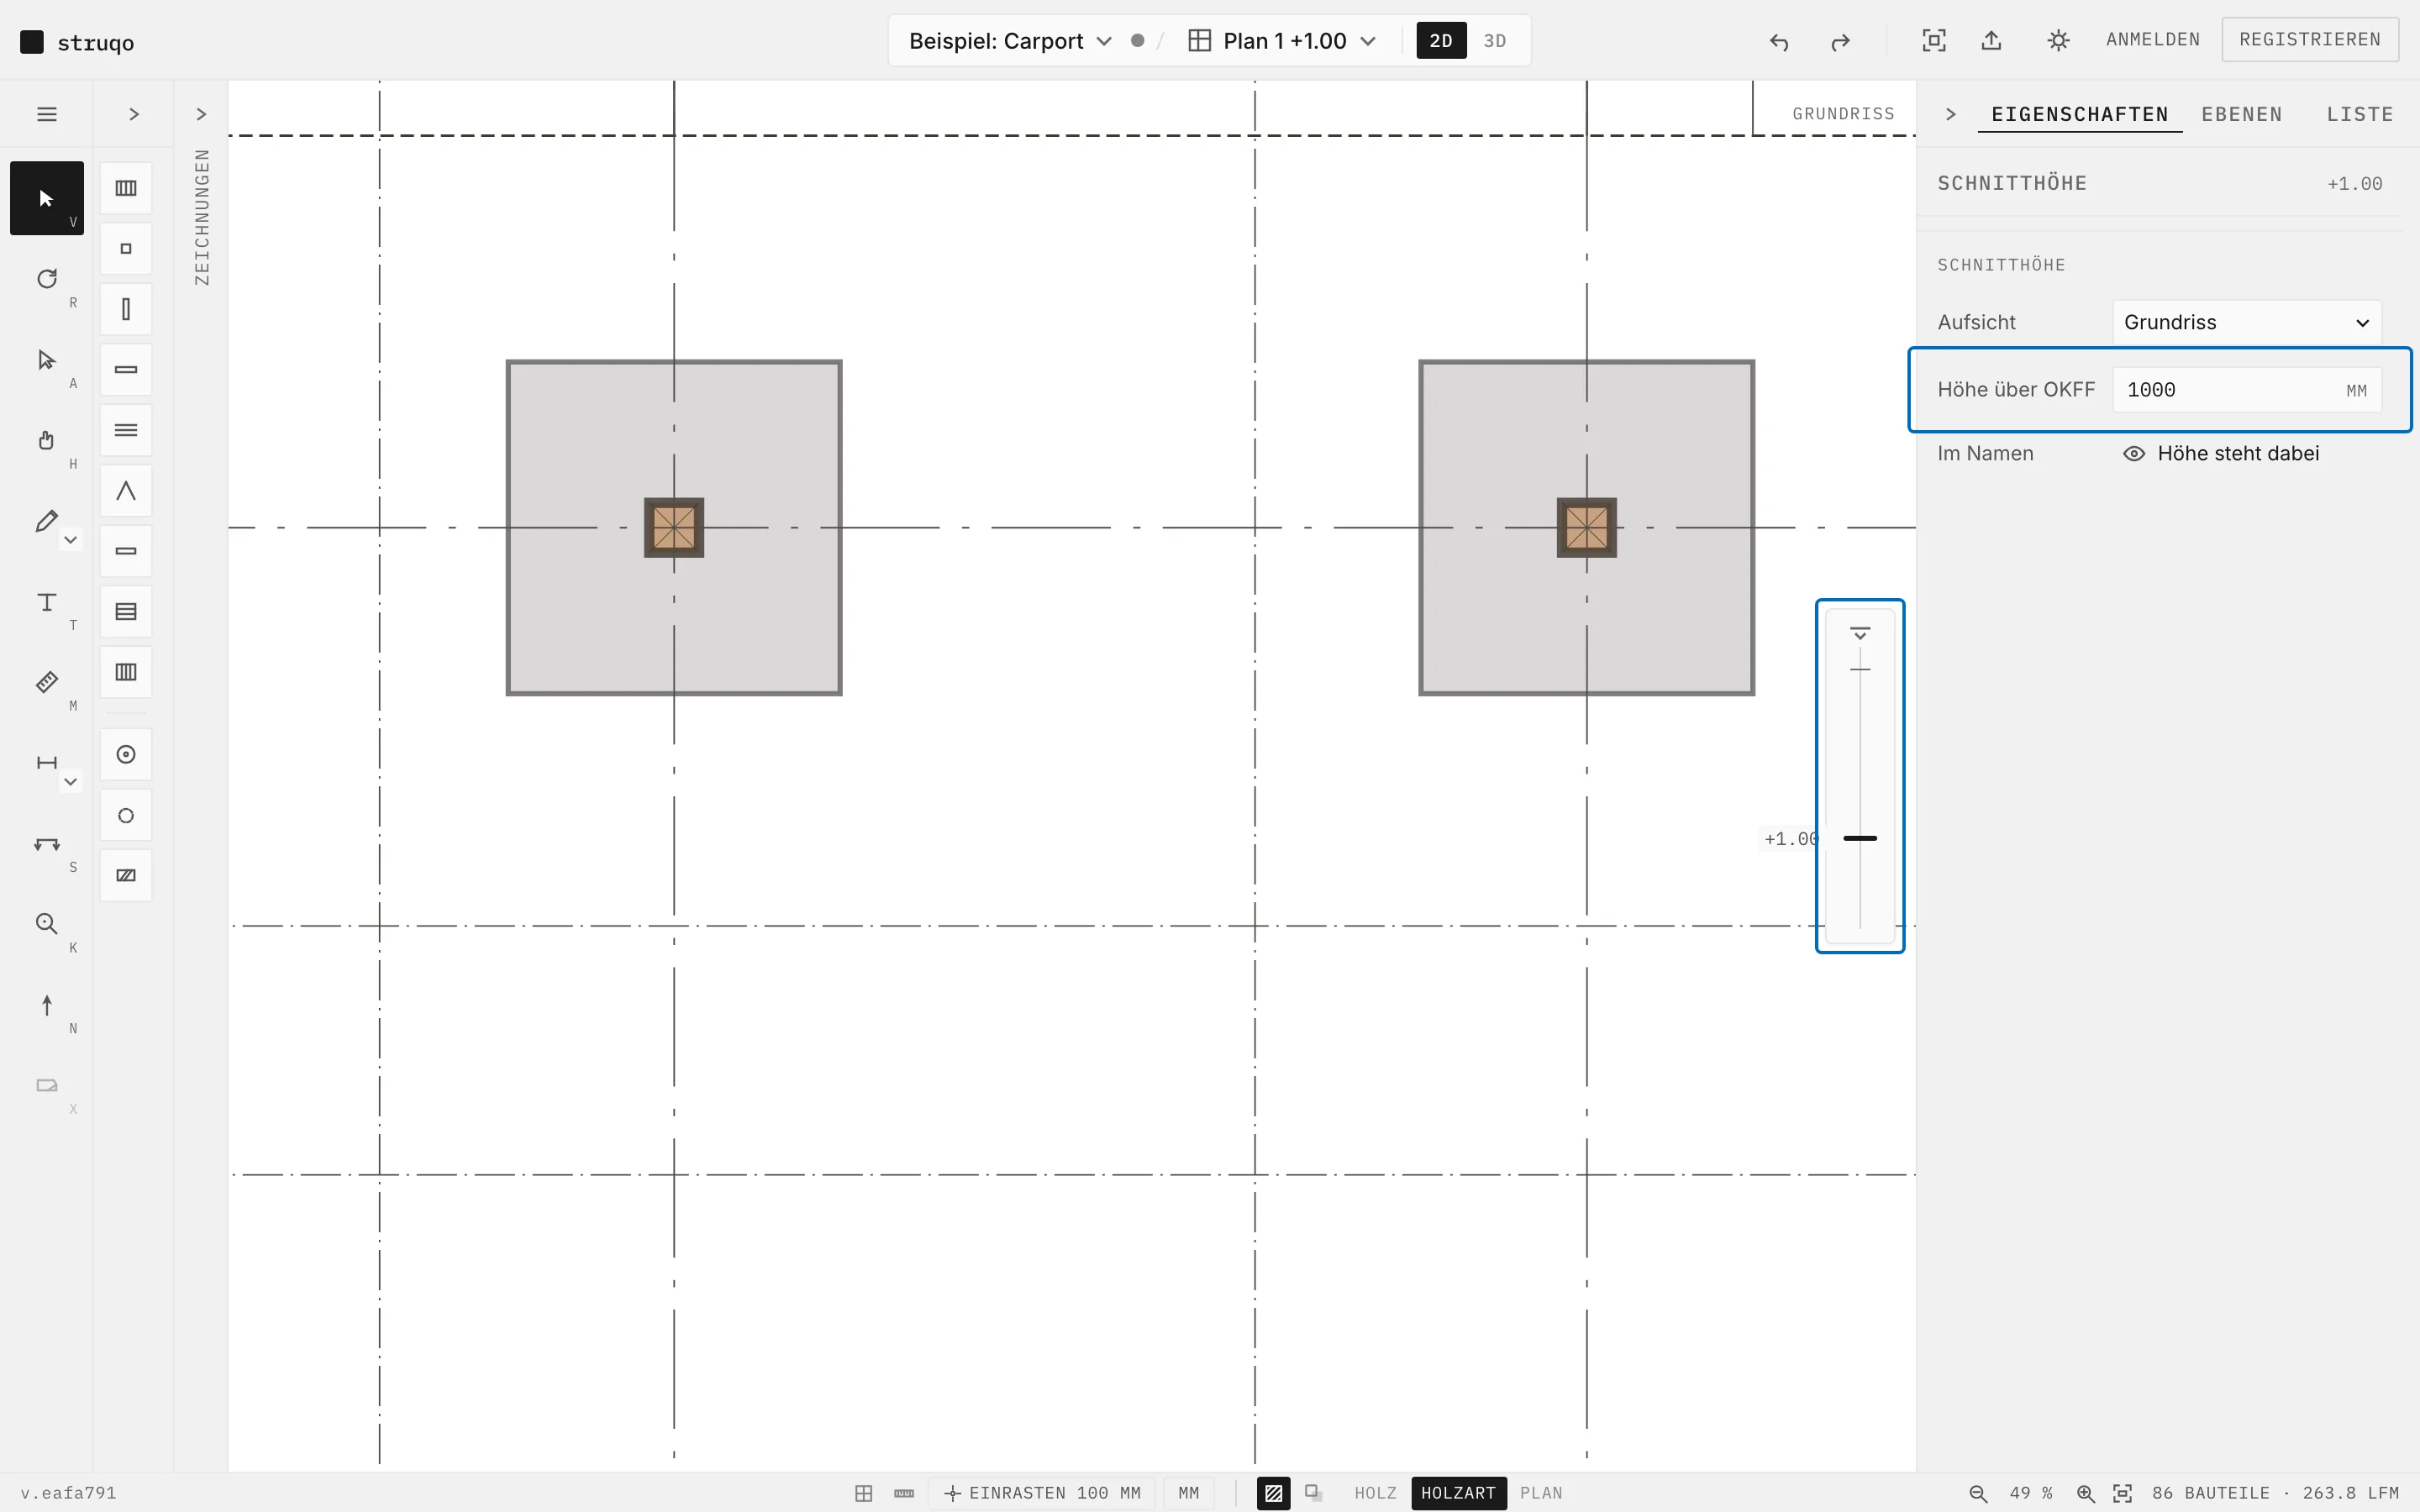
The floor plan cuts the model horizontally, at first one metre above finished floor level. Drag the slider at the edge of the drawing area up or down, or type the height in millimetres in the panel.
How the floor plan comes out of the model is shown on the 3D model page.
More
- Arrow keys move the height by 10 mm, with Shift by 100 mm, Page Up and Page Down by 500 mm.
- Home jumps to the floor plan at +1.00, End to the roof plan.
- A double click on the slider brings the floor plan back.
Snapping from 10 mm to 1 m.
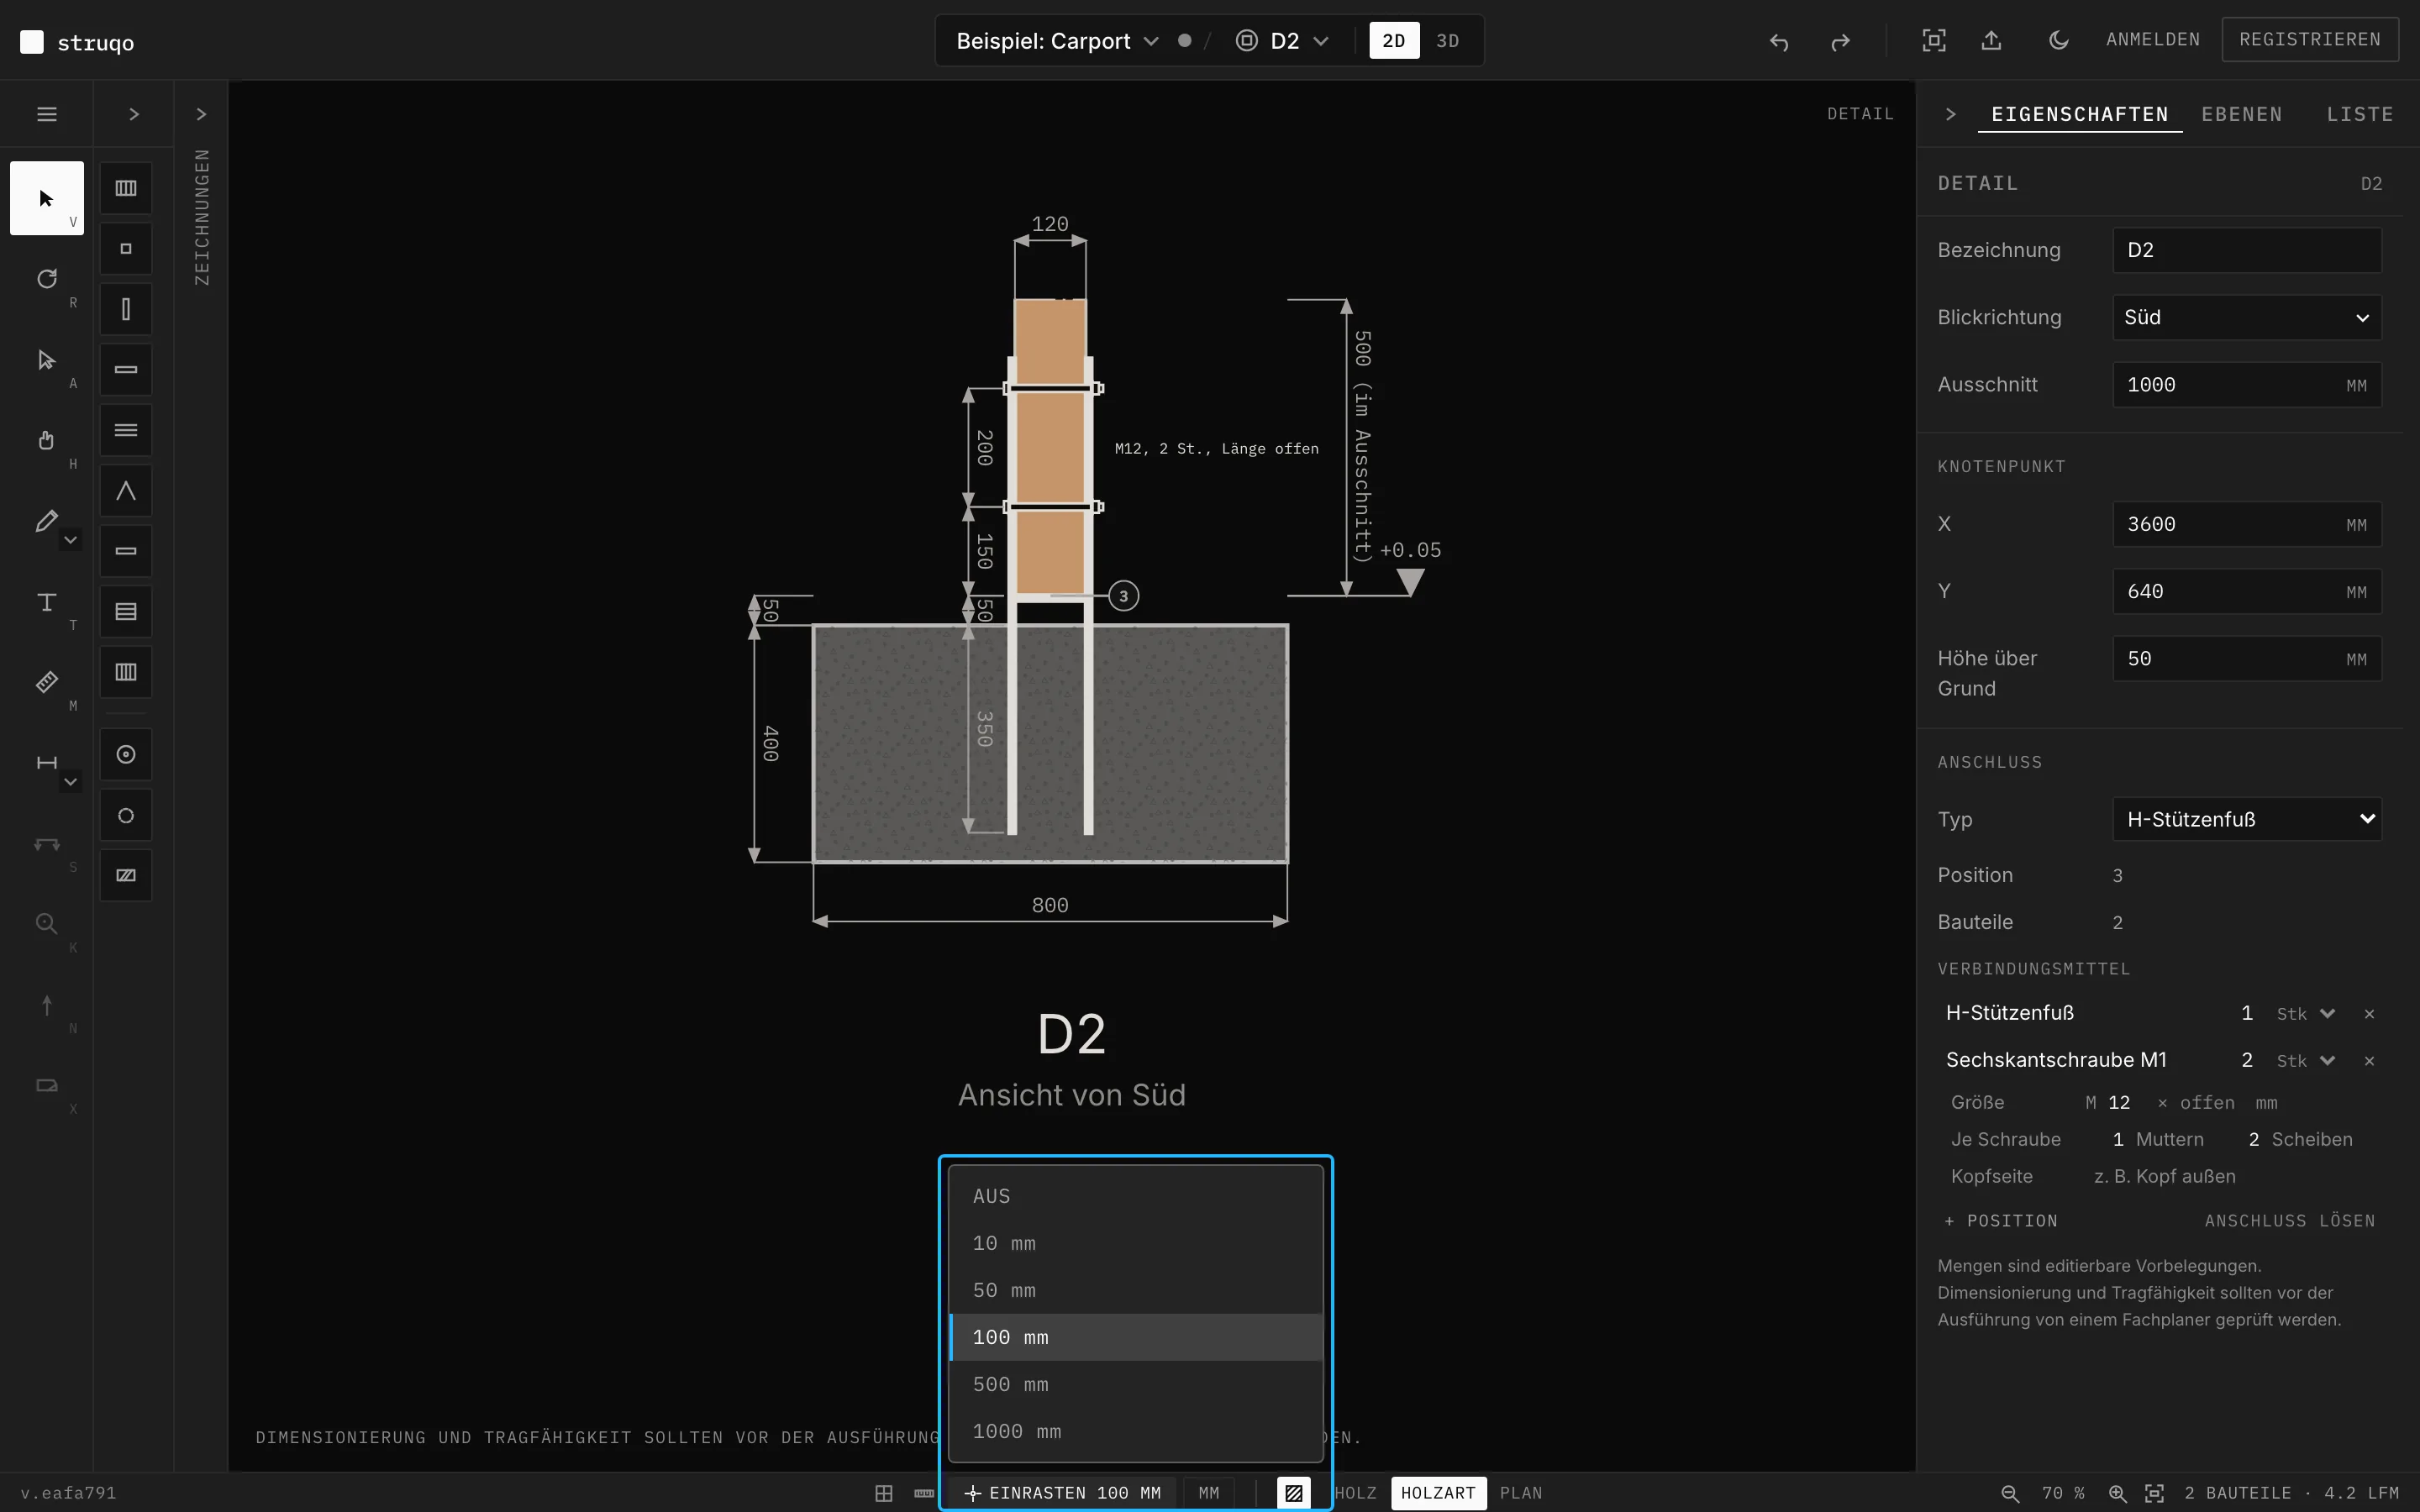
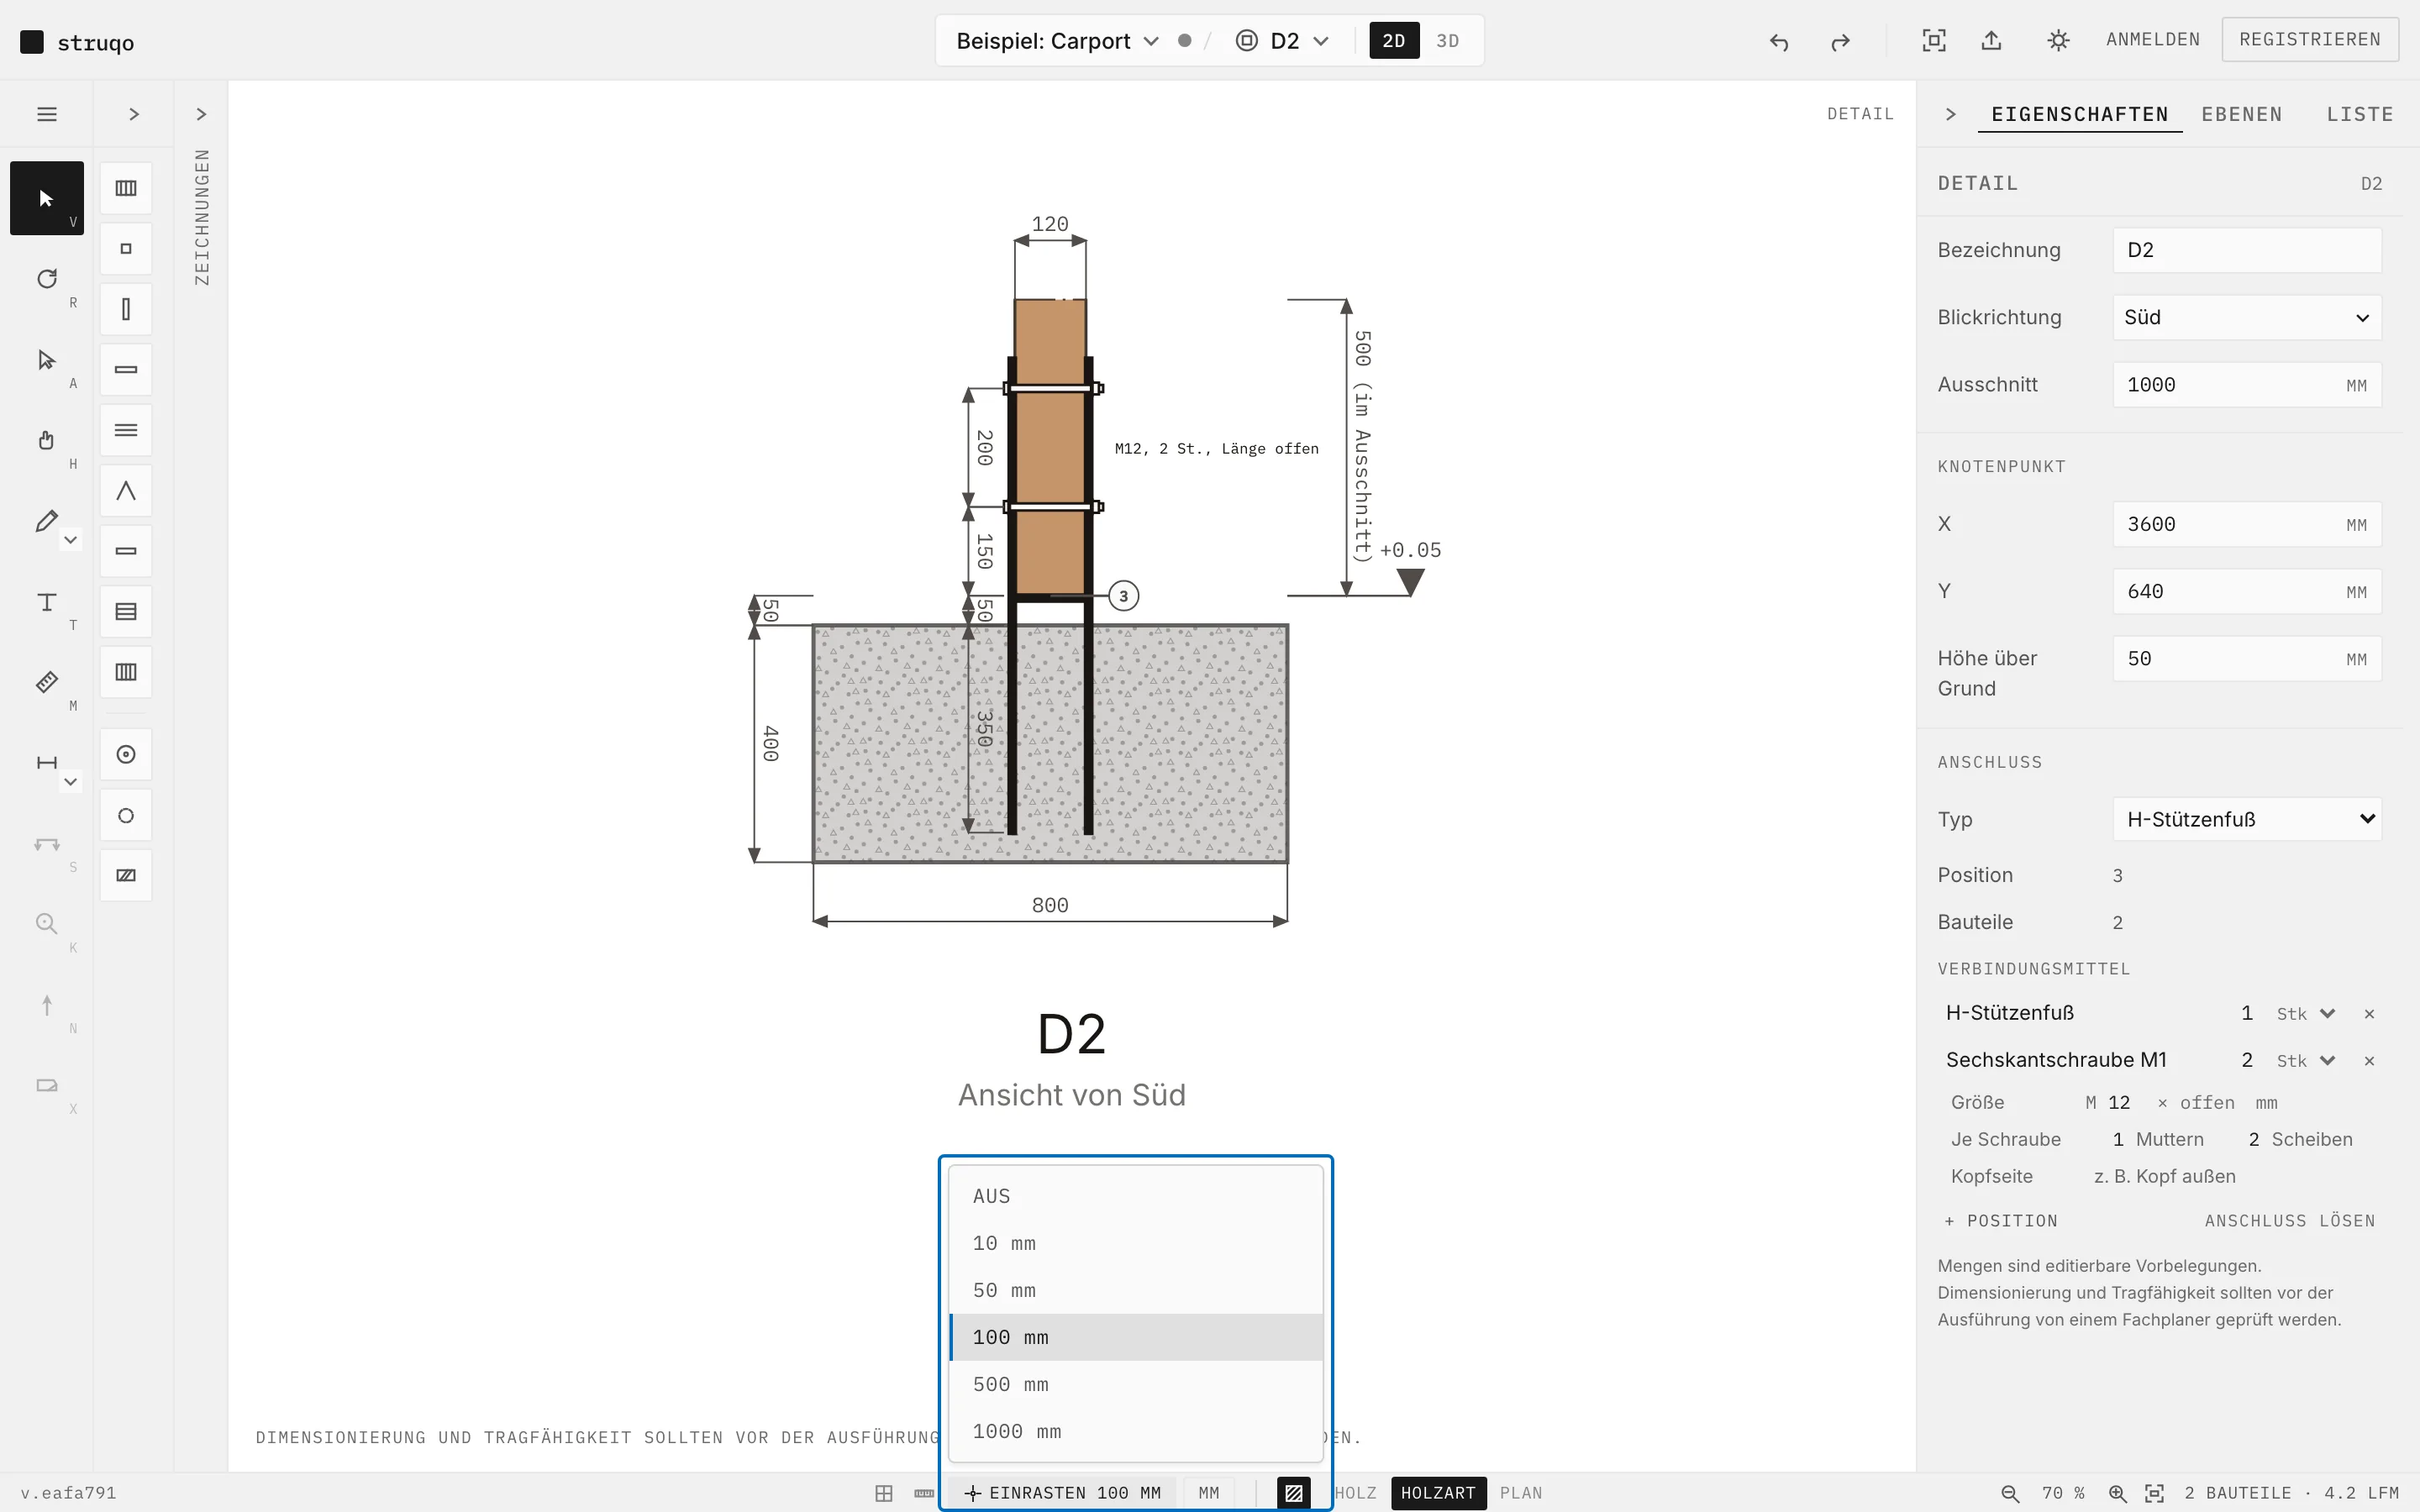
In the status bar at the bottom you choose the steps Struqo snaps to: 10, 50, 100, 500 or 1000 mm, or not at all. It always snaps to corners and edges of other parts. So purlin and post meet, even when the mouse shakes.
More
- Grid and rulers switch on and off right next to it.
- Snapping works for dimensions, polygon, sketches, section line and detail.
Three steps to the cutlist.
- 01
Draw
Place parts from the bar in the floor plan, type their sizes. Snapping on, outer dimensions appear as you go.
- 02
Cross-sections
Posts, purlins and rafters get their cross-section, in lumber-yard sizes.
- 03
Print
Every view as PDF with title block. The cutlist sorted by material and cross-section, as PDF or CSV.
Try the tools yourself
The example opens in the floor plan, no account needed. You cannot break anything: at your first change Struqo asks whether to make a copy. The example stays as it is.